

Nothing kills expensive brushes faster than dried paint stuck in the bristles. Learning how to clean paint brushes properly can extend their lifespan from months to years.
Most artists lose more money on ruined brushes than on paint itself. Brush maintenance isn’t optional if you want consistent results from your painting mediums.
Poor cleaning technique destroys brush tips, loosens ferrules, and creates streaky paint application. Professional artists know that brush care directly impacts painting quality.
This guide covers everything from emergency paint removal to long-term brush preservation methods. You’ll learn specific cleaning techniques for different paint types, proper storage methods, and when replacement makes more sense than restoration.
Immediate Post-Painting Cleanup

Quick Actions to Take Right After Painting
Paint residue starts setting within minutes. The first 15 minutes after you finish painting determine whether your brushes survive or become expensive paperweights.
Wipe excess paint from bristles using a paper towel or cloth. Press gently to avoid damaging the brush tip.
Temperature matters more than most artists realize. Hot water opens paint film structure, but cold water preserves bristle shape better for delicate natural brushes.
Emergency Rescue for Forgotten Brushes
Found a brush with dried acrylic paint from yesterday? Don’t panic yet.
Partially dried brushes can often be saved with proper soaking techniques. Submerge the ferrule and bristles in warm water for 30 minutes.
Hard, crusty brushes usually aren’t worth the effort. Your time costs more than a new brush.
If paint dried in the ferrule, the metal band holding bristles, you’re looking at a lost cause. The ferrule damage spreads to bristles quickly.
Quick Assessment Test
Bend bristles gently with your finger. If they flex without cracking, proceed with cleaning.
Brittle bristles that snap indicate chemical damage. Toss the brush and move on.
Cleaning Water-Based Paints

Basic Soap and Water Method
Lukewarm water works best for most water-based cleaning. Hot water can loosen ferrules and damage natural bristles.
Start with gentle dish soap. Work the paint out from ferrule to tip using circular motions in your palm.
Multiple rinses beat aggressive scrubbing every time. Rinse, soap, rinse again.
Stubborn Acrylic Paint Removal
Acrylic paint bonds differently than watercolor painting pigments. It needs more persuasion.
Fabric softener breaks down acrylic polymer chains better than soap alone. Mix one part fabric softener with three parts warm water.
Soak brushes for 20 minutes, then work the softener through bristles. The paint literally slides off.
Murphy’s Oil Soap also works well for stubborn acrylics. Artists have used this trick for decades.
Protecting Brush Shape During Cleaning
Never scrub bristles against the sink bottom. You’ll split the tips and ruin the brush’s precision.
Cup your hand and work cleaning solution through bristles using gentle pressure. Let the soap do the work, not your fingers.
Brush restoration depends on maintaining the original point or chisel edge. Clean in the direction bristles naturally lay.
Watercolor and Gouache Specific Care
These painting mediums need gentler treatment than acrylics or oils.
Cool water prevents pigment from setting deeper into natural bristles. Hot water actually drives watercolor pigments further into the brush.
Gum arabic in watercolor dissolves easily, so aggressive cleaning damages brushes unnecessarily.
Work cleaning solution gently through bristles, then reshape while damp. Watercolor brushes hold their point better when shaped immediately after cleaning.
Tackling Oil-Based Paint Cleanup

Solvent Selection and Safety
Oil paint requires solvents for effective removal. Water alone won’t touch oil-based mediums.
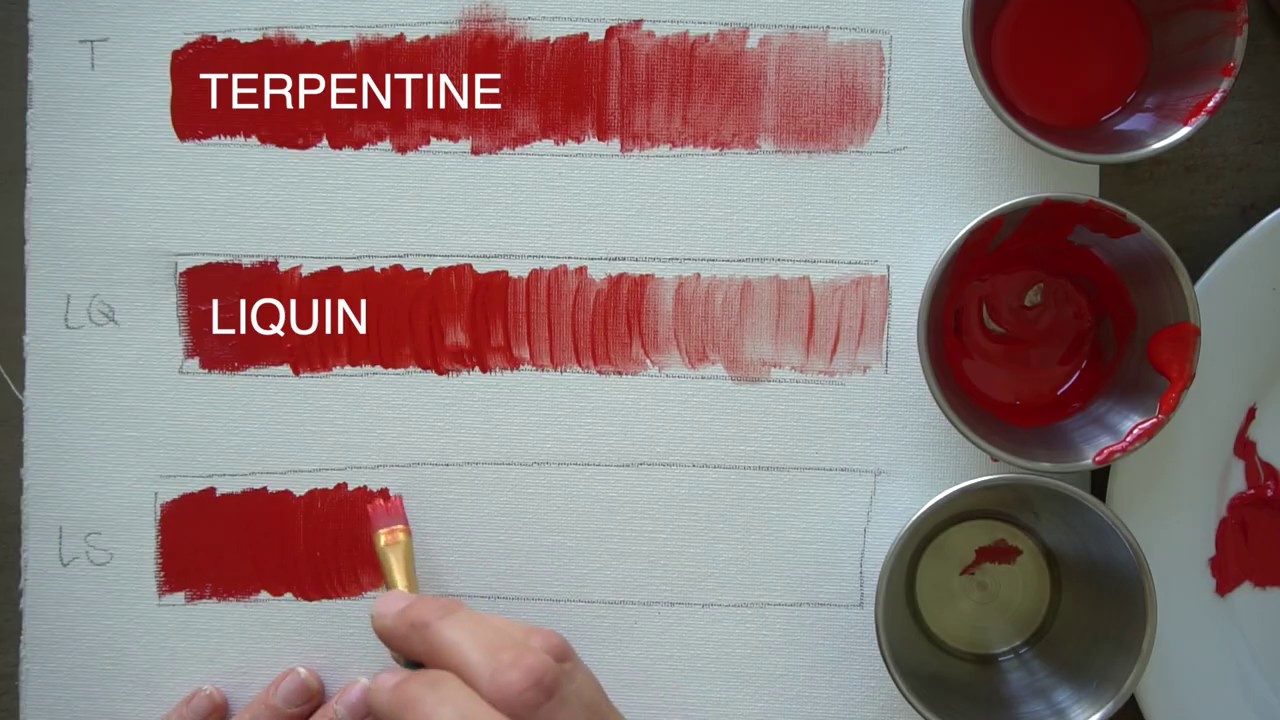
Mineral spirits cost less than turpentine and smell milder. Both work equally well for brush cleaning.
Turpentine cuts through paint faster but requires better ventilation. The fumes cause headaches and respiratory irritation.
Work outdoors or near an open window when using any solvent. Your lungs will thank you later.
Safety First with Solvents
Wear nitrile gloves to prevent skin absorption. Latex gloves dissolve in solvents.
Keep a fire extinguisher nearby. Paint thinner and turpentine are flammable.
Never pour solvents down drains. Check local disposal regulations for proper hazardous waste handling.
Two-Stage Oil Paint Removal Process
First rinse: Swirl brush in solvent to dissolve oil paint. Don’t scrub yet.
Change to fresh solvent for the second rinse. Dirty solvent just redistributes paint around bristles.
Second stage: Follow solvent cleaning with soap and warm water. This removes solvent residue that can damage bristles over time.
Dawn dish soap cuts through oil residue better than regular hand soap. The degreasing agents break down lingering oil films.
Checking for Complete Removal
Rinse brush and look for paint streaks in the water. Clear water means you’re done.
Press bristles against white paper towel. Any color transfer indicates incomplete cleaning.
Paint medium residues can cause bristles to stick together when dry. Keep cleaning until water runs completely clear.
Brush Conditioner Application
Oil painting brushes need moisture replacement after solvent cleaning.
Hair conditioner works as well as expensive brush conditioners. Apply a small amount and work through bristles.
Leave conditioner in overnight for badly dried brushes. Rinse thoroughly before next use.
Natural bristles absorb moisture from the air, but conditioner helps them stay flexible longer.
Specialty Paint and Medium Cleanup
Latex and House Paint Removal
Latex paint fights back harder than artist acrylics. House paint contains more binders and thickeners.
Scrape excess paint before cleaning. A palette knife works better than fingers for this job.
Warm soapy water breaks down latex eventually. Patience beats elbow grease for thick house paint removal.
Change cleaning water frequently. Dirty water just moves paint around instead of removing it.
Working with Paint Thinner
Heavy latex requires paint thinner for stubborn spots. Apply small amounts and work through bristles gently.
Ventilation is critical with chemical solvents. Work outside when possible.
Never soak brushes overnight in paint thinner. The chemicals break down bristle structure and loosen ferrules.
Enamel Paint Challenges
Enamel dries fast and bonds aggressively to bristles. Speed matters more than technique here.
Clean enamel brushes every 30 minutes during painting sessions. Once enamel sets, you’re fighting chemistry.
Mineral spirits cut through enamel better than water-based cleaners. Keep a container handy during enamel projects.
Denatured alcohol works as backup solvent for really stubborn enamel spots.
Textured Paint and Primer Cleanup
Textured paints contain sand, grit, or other particles that embed in bristles.
Rinse thoroughly before soap cleaning. Gritty particles act like sandpaper when you scrub.
Work cleaning solution in one direction only. Back-and-forth scrubbing drives particles deeper into brush structure.
Primer cleanup requires patience. These products are designed to stick permanently to surfaces.
Heavy-Bodied Paint Solutions
Thick paint mediums need pre-softening before regular cleaning starts.
Soak brushes in appropriate solvent for 10 minutes before mechanical cleaning begins.
Brush flexibility returns gradually as thick paint dissolves. Don’t force stiff bristles to bend.
Proper Drying and Storage Techniques
Reshaping Wet Brushes
Brush shape determines paint application quality. Proper reshaping prevents permanent bristle damage.
Squeeze excess water from bristles using paper towels. Never twist or wring brushes.
Reform the original point or chisel edge while bristles are damp. Dry brushes lose their shape permanently.
Using Brush Guards and Protectors
Plastic brush guards maintain shape during drying. They’re worth the small investment.
Slip guards over damp, reshaped brushes. The plastic holds bristles in proper position as they dry.
Natural bristles need guards more than synthetic ones. Animal hair loses memory faster than manufactured fibers.
Avoiding Common Reshaping Mistakes
Never leave brushes standing in water containers. The bristles bend permanently at odd angles.
Don’t squeeze bristles to remove water. Pinch the ferrule area instead.
Brush tips are the most fragile part. Handle them like you’re touching flower petals.
Drying Methods That Preserve Bristles
Flat drying works best for most brushes. Lay them on clean towels with bristles extending over the edge.
Upright drying in containers can work if bristles don’t touch anything. Most artists don’t have the right setup for this.
Air circulation speeds drying without heat damage. A small fan helps in humid climates.
Heat Damage Prevention
Never use hair dryers or heat guns on wet brushes. High temperatures melt synthetic bristles and damage natural ones.
Radiators and heating vents create hot spots that warp brush handles and loosen ferrules.
Room temperature drying takes longer but preserves brush quality for years.
Long-Term Storage Solutions
Clean, dry brushes need protection from dust and insects. Moths love natural bristles.
Brush storage containers should breathe. Airtight containers trap moisture and promote mold growth.
Cedar blocks repel insects without chemical odors. Place them near stored brushes.
Climate Control Considerations
Natural bristles absorb humidity and expand. Store them in consistent climate conditions.
Extreme dryness makes natural bristles brittle. Synthetic brushes handle dry climates better.
Basement storage often has humidity problems. Check stored brushes quarterly for mold or pest damage.
Travel and Portable Storage
Roll-up brush cases protect tips during transport. Hard cases work better for expensive brushes.
Wrap individual brushes in tissue paper before rolling. Direct contact between brushes damages tips.
Brush caps from new brushes are worth keeping. They fit perfectly and protect tips better than improvised covers.
Deep Cleaning and Restoration Methods
Monthly Deep Clean Routine
Regular maintenance prevents major brush problems. Monthly deep cleaning extends brush life significantly.
Remove all visible paint residue before starting deep cleaning procedures.
Soak brushes in appropriate cleaning solution for 2-4 hours. Don’t exceed recommended soaking times.
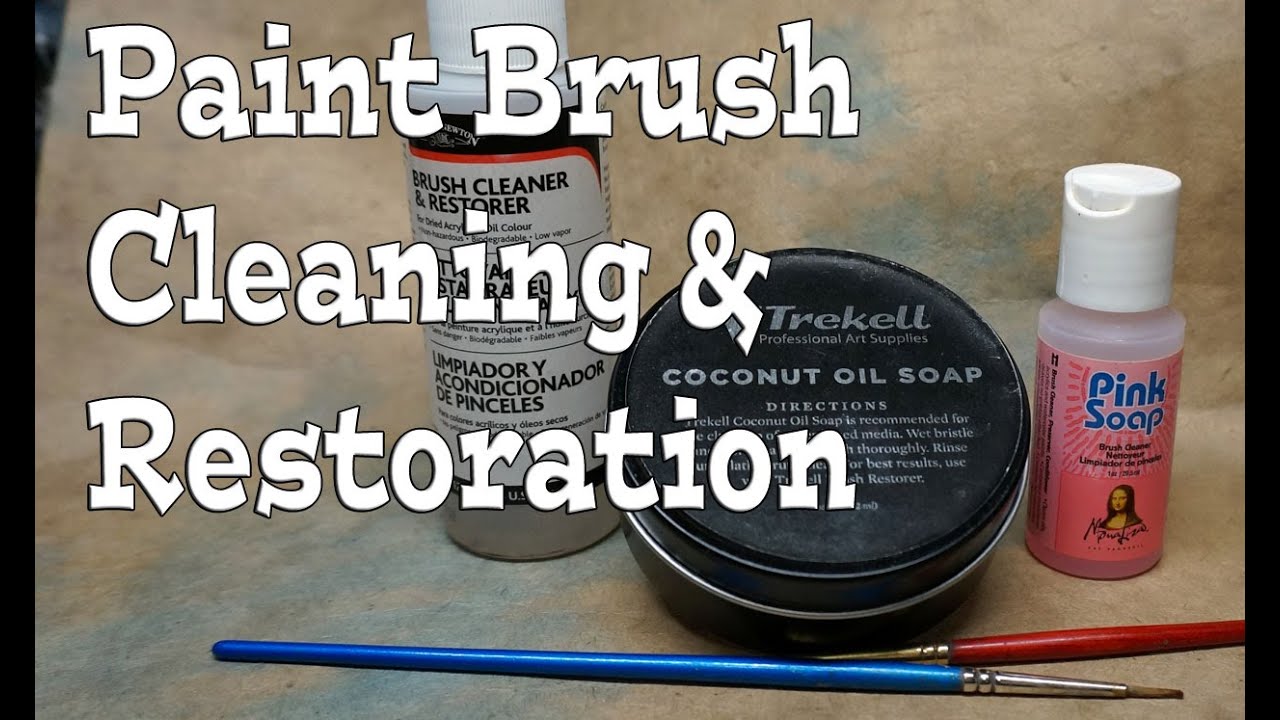
Advanced Cleaning Solutions
Commercial brush cleaners work faster than household products. The cost difference is minimal for serious artists.
Murphy’s Oil Soap breaks down stubborn paint residues better than regular dish soap.
White vinegar dissolves mineral deposits from hard water. Rinse thoroughly after vinegar treatment.
Removing Built-Up Paint Residue
Paint builds up in the ferrule area where bristles meet metal. This invisible residue shortens brush life.
Work cleaning solution into the ferrule using old toothbrushes. Gentle circular motions dislodge hidden paint.
Ferrule cleaning requires patience. Rushing this step leaves paint that hardens and loosens bristles later.
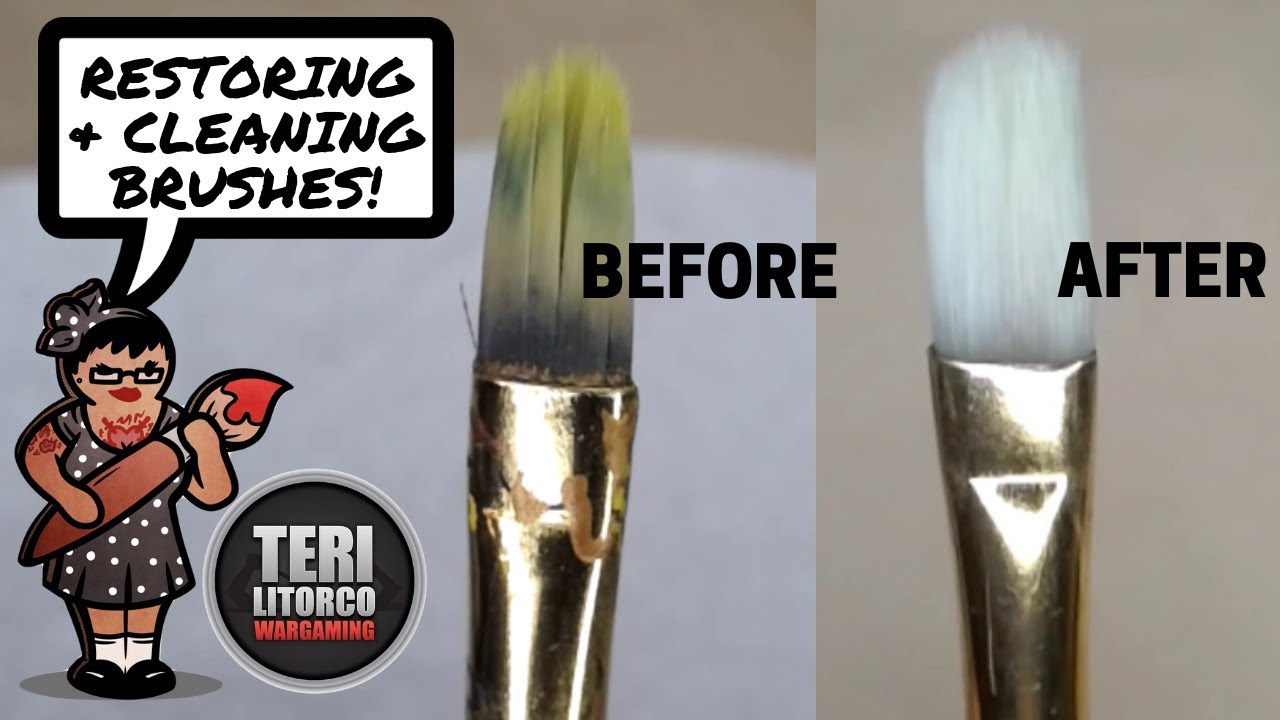
Restoring Neglected Brushes
Hardened brushes need specialized treatment. Not all brushes are worth the restoration effort.
Brush restoration costs time and materials. Calculate whether new brushes make more sense.
Soaking solutions for hardened paint vary by paint type. Water-based paints need different solvents than oils.
Professional vs. Homemade Solutions
Commercial brush restorers contain specialized chemicals not available in household products.
Homemade solutions work for light restoration but lack power for seriously damaged brushes.
Cost-benefit analysis matters here. Professional products cost more but save time and effort.
When Restoration Isn’t Worth Effort
Split bristles rarely return to original condition. Restoration can’t fix physical damage.
Loose ferrules indicate structural problems. The brush will continue deteriorating regardless of cleaning efforts.
Time investment in restoration often exceeds new brush costs. Know when to quit.
Brush Maintenance Between Projects
Short-Term Storage During Active Projects
Active painting sessions often span multiple days. Your brushes need proper care between work periods.
Plastic wrap keeps bristles from drying out overnight. Wrap tightly around the ferrule area.
Container methods work better for multiple brushes. Use shallow dishes with tight-fitting lids.
Keeping Brushes Workable Between Sessions
Brush soap creates a protective coating that prevents paint from hardening on bristles.
Work soap through clean bristles until they feel slightly tacky. This coating dissolves instantly when painting resumes.
Never leave brushes standing in water containers overnight. The bristles bend and lose their shape permanently.
Medium-Specific Holding Techniques
Oil painting brushes need different storage than water-based medium tools.
Oil-based mediums allow longer working times between cleaning sessions. Wrap in plastic and refrigerate for extended breaks.
Acrylic painting brushes require immediate attention. Acrylics dry faster than oils and bond more aggressively.
Refrigeration Tricks for Extended Breaks
Cold temperatures slow paint drying significantly. Wrap brushes in damp paper towels, then plastic wrap.
Temperature control extends working time from hours to days for most water-based paints.
Remove brushes from refrigeration 30 minutes before resuming work. Cold bristles don’t hold paint properly.
Preventing Paint Skin Formation
Air exposure creates paint skin that transfers to your work surface. Prevention beats removal every time.
Press plastic wrap directly onto paint surfaces in containers. Eliminate air pockets completely.
Brush soap coating prevents skin formation on bristles during short storage periods.
Quick Touch-Up Preparations
Stored brushes often stiffen slightly between uses. Quick preparation restores working condition.
Test strokes on scrap material reveal brush condition before touching finished work.
Flex bristles gently in cleaning solution if they feel rigid. Don’t force stiff brushes to bend.
Having Backup Brushes Ready
Professional artists maintain duplicate brushes for important work. Brush backup prevents project delays.
Keep identical brushes clean and ready during complex painting sessions.
Backup brushes cost less than ruined paintings from brush failure at critical moments.
Signs Your Brushes Need Replacement

Bristle Condition Red Flags
Permanent splaying occurs when bristles won’t return to original shape after cleaning.
Split ends on natural bristles indicate wear beyond repair. Natural bristles develop splits from repeated use and cleaning.
Bent bristles that stay curved after drying have lost their structural integrity.
Loss of Point and Control
Detail brushes lose precision when tips wear down or spread out permanently.
Round brushes should maintain sharp points for line work and detail applications.
Flat brushes need clean, straight edges for proper paint application and color mixing.
Excessive Shedding During Use
New brushes shed some bristles initially, but established brushes shouldn’t lose hair constantly.
Shedding during painting contaminates paint mixtures and creates texture problems.
Synthetic bristles that shed indicate manufacturing defects or chemical damage from improper cleaning.
Chemical Damage Indicators
Paint thinner exposure over time breaks down bristle structure and flexibility.
Brittle bristles that crack or snap indicate chemical damage beyond repair.
Discolored bristles, especially yellowing in natural hair, show chemical breakdown from solvents or age.
Ferrule Problems That Can’t Be Fixed
Loose ferrules develop from repeated wetting and drying cycles over time.
Wobbling indicates the crimp holding bristles has loosened permanently. This problem worsens with continued use.
Rust damage around the ferrule spreads to bristles and contaminates paint mixtures.
Handle Separation Issues
Handle integrity affects brush control and comfort during extended painting sessions.
Cracked handles can splinter and injure hands during use.
Loose ferrules that slide on handles create unpredictable brush behavior.
Performance Decline Indicators
Streaky paint application suggests uneven bristle wear or damage.
Brushes that won’t hold adequate paint amounts have lost their structural capacity.
Poor paint medium release creates uneven coverage and texture problems.
When Economics Favor Replacement
Time investment in restoration often exceeds new brush costs for basic tools.
Professional-grade brushes justify more restoration effort than student-quality tools.
Calculate hourly restoration time against new brush prices before starting major cleaning projects.
Quality vs. Cost Considerations
Student brushes are designed for replacement rather than long-term maintenance.
Professional brushes cost more initially but last significantly longer with proper care.
Brush quality directly impacts paint application results and longevity.
Storage Life Expectations
Natural bristle brushes typically last 2-3 years with regular use and proper maintenance.
Synthetic brushes often outlast natural ones but may lose performance characteristics gradually.
Environmental factors like humidity and temperature affect brush lifespan significantly.
FAQ on How To Clean Paint Brushes
Can I use dish soap to clean paint brushes?
Yes, dish soap works well for water-based paints like acrylics and watercolors. Dawn or similar degreasing soaps are most effective. For oil painting brushes, use soap after solvent cleaning to remove residue.
How long should I soak brushes in cleaning solution?
Soaking time varies by paint type. Fresh water-based paint needs 5-10 minutes, while dried acrylics may require 30 minutes. Never soak oil brushes in solvent overnight as this damages bristles and loosens ferrules.
What’s the best way to remove dried acrylic paint from brushes?
Fabric softener mixed with warm water breaks down dried acrylics effectively. Soak for 20 minutes, then work the solution through bristles. Commercial brush restorers work faster but cost more than household solutions.
Should I clean brushes with hot or cold water?
Lukewarm water works best for most cleaning situations. Hot water can loosen ferrules and damage natural bristles, while cold water doesn’t dissolve paint effectively. Temperature matters more for delicate watercolor painting brushes.
How do I clean oil paint brushes without turpentine?
Mineral spirits work as well as turpentine with less odor. Vegetable oil followed by dish soap provides an eco-friendly alternative. Safflower oil dissolves oil paint naturally, then regular soap removes the oil residue.
Can I save brushes with dried paint in the ferrule?
Ferrule cleaning is possible but challenging. Soak in appropriate solvent and work solution into the metal band with an old toothbrush. If paint has hardened completely in the ferrule, replacement often costs less than restoration time.
What’s the difference between cleaning synthetic and natural brushes?
Natural bristles need gentler treatment and cooler water temperatures. Synthetic brushes handle aggressive cleaning better but can melt with excessive heat. Both types benefit from proper reshaping while damp.
How do I store brushes after cleaning?
Proper storage requires brushes to be completely dry and reshaped. Lay flat on clean towels or hang with bristles pointing down. Use brush guards to maintain shape and store in dust-free, well-ventilated areas.
When should I replace brushes instead of cleaning them?
Replace brushes when bristles split permanently, ferrules loosen, or handles crack. If restoration time exceeds new brush costs, replacement makes economic sense. Professional brushes justify more restoration effort than student-grade tools.
Can I use the same cleaning method for all paint types?
No, different painting mediums require specific cleaning approaches. Water-based paints need soap and water, oils require solvents, and specialty paints like enamels need stronger chemicals. Match your cleaning method to the paint type used.
Conclusion
Mastering how to clean paint brushes transforms your artistic practice from expensive to sustainable. Proper cleaning techniques extend brush lifespan and maintain consistent paint application quality.
Brush care isn’t complicated once you match cleaning methods to paint types. Water-based paints need gentle soap treatment, while oil-based mediums require solvents followed by thorough soap cleaning.
Regular maintenance prevents costly brush replacement. Monthly deep cleaning removes hidden paint residue that gradually destroys bristle flexibility and ferrule integrity.
Storage matters as much as cleaning technique. Proper drying and climate-controlled storage protect your brush investment between painting sessions.
Know when to quit restoration efforts. Split bristles and loose ferrules indicate permanent damage that cleaning can’t fix.
Your brushes are tools that directly impact painting results. Treat them with the same care you give your finished artwork.


