

Most oil paintings get ruined not on the canvas, but in the final step.
Knowing how to varnish an oil painting correctly is what separates a protected, professional finish from a cloudy, cracked, or permanently damaged surface.
Varnish does more than add sheen. It shields the paint film from UV light, dust, and oxidation, while unifying an uneven surface into a clean, consistent finish.
This guide covers everything from choosing the right picture varnish to applying it without streaks, fixing common problems, and removing it safely when the time comes.
What Is Varnishing an Oil Painting
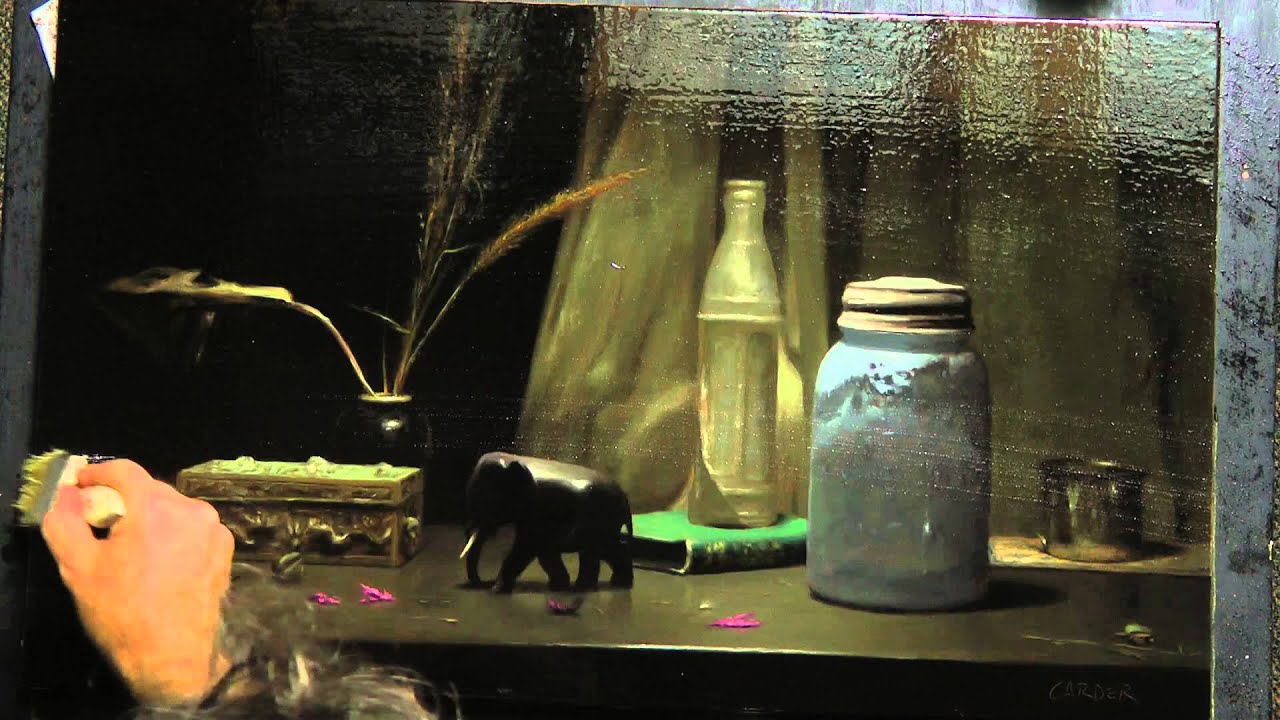
Varnish is a removable protective layer applied over fully cured oil paint. It sits on top of the paint film as a separate, cleanable coat that can be taken off without touching the paint underneath.
That last part matters a lot. Removability is the whole point of archival varnish. Museums rely on it.
According to the Smithsonian’s Museum Conservation Institute, varnish intensifies the appearance of pigments through light refraction (a process called saturation) and provides a protective coating that can be cleaned and eventually replaced.
What varnish actually does to a finished painting:
- Shields the paint film from UV light, oxidation, dust, and humidity
- Unifies uneven sheen across different pigments (some dry glossy, others dry flat)
- Deepens color saturation, especially in dark areas that have gone dull
- Creates a sacrificial surface layer that takes the dirt instead of the paint
Varnish is not the same as a painting medium, an isolation coat, or a retouch varnish. Those are applied during or right after painting. Final picture varnish comes much later, once the paint has had time to fully cure.
Unvarnished oil paintings absorb atmospheric moisture even in regulated environments, according to the conservation resource Spaces Between the Gaps. Over time, uncoated paint surfaces can develop friable areas that crack. A proper varnish coat prevents that.
Varnish vs. Other Coatings
These terms get mixed up constantly, so here is a quick breakdown:
| Coating Type | When Applied | Purpose | Removable? |
|---|---|---|---|
| Retouch varnish | Days to weeks after painting | Temporary protection, even sheen | Yes |
| Isolation coat | Before final varnish | Separates paint from varnish | No |
| Final picture varnish | 6-12+ months after completion | Permanent protection, final appearance | Yes |
| Conservation varnish | 2+ years after completion | Archival-grade UV protection | Yes |
The isolation coat deserves a specific mention. Golden Soft Gel Gloss is the most commonly used option. It bonds permanently to the paint and gives the final varnish a stable, non-absorbent surface to sit on, which makes removal much cleaner later.
When to Varnish an Oil Painting
Varnishing too soon is probably the most common mistake artists make. The varnish solvent can partially dissolve a paint layer that has not fully cured, merging with the paint film in a way that becomes impossible to remove without damaging the work.
The traditional rule: wait 6-12 months.
That timeline applies to paintings done at average thickness with standard oil painting mediums. Thick impasto work may need longer. Paintings done with fast-drying alkyd mediums like Liquin may be ready sooner.
How Paint Thickness Affects Drying Time
Thin layers dry faster than thick ones. This sounds obvious but it trips people up constantly.
A painting with thin, transparent glazes over a lean underpainting can be ready for varnish in 3-6 months. A heavily loaded impasto painting, especially one using slow-drying pigments like ivory black or titanium white with linseed oil, may need 18-24 months.
Artist and painter Erin Hanson, known for her thick alla prima technique, recommends waiting at least two years before applying a finishing varnish because of paint depth.
The Thumbnail Test
Press firmly on the thickest area of the painting with your thumbnail.
If it leaves an indentation, the paint is not ready. No indentation means the surface is fully touch-dry. Gamblin developed this practical test as part of their Gamvar application guidelines.
Touch-dry is not the same as fully cured. The paint film continues to oxidize and harden for months after the surface feels dry. A retouch varnish (like Winsor and Newton Artists’ Retouching Varnish) can provide temporary protection while the painting continues to cure underneath.
What Happens When You Varnish Too Soon
According to Lines and Colors, varnishes contain solvent as well as resin. If the paint layer has not fully dried, that solvent can partially dissolve the oil, allowing the varnish to merge into the paint film rather than sitting on top of it.
The result:
- Varnish that cannot be removed without damaging the paint
- Cracking as the paint continues to cure beneath a locked-in varnish
- Cloudiness or uneven sheen that cannot be corrected
Types of Varnish for Oil Paintings

The choice of varnish affects appearance, longevity, and how easy the painting is to restore decades from now. Not all varnishes age the same way, and some are far better suited to archival standards than others.
Natural Resin Varnishes
Damar varnish is the most historically used natural resin option. It produces a rich, warm gloss that many traditional painters prefer. The downside is that it yellows within roughly 50 years under normal exposure, according to the Canadian Conservation Institute’s research reviewed by Golden Artist Colors.
It is still removable after yellowing, which is the only reason conservators still accept it. Other natural resins like copal and mastic are no longer recommended because they crack badly and become nearly impossible to remove without damaging the paint.
Synthetic Varnishes
Modern synthetic varnishes are what conservators now prefer.
- Gamblin Gamvar: ketone resin, water-clear, can be applied as early as 1-2 months after painting (depending on thickness), and reactivates with Gamsol for easy brush cleaning and touch-ups
- Golden MSA Varnish: mineral spirit acrylic, excellent for oil paintings, includes UVLS (Ultra Violet Light Stabilizers), available in spray and brush-on versions
- Winsor and Newton Conserv-Art Gloss: synthetic option with UV protection, widely used in professional studio practice
According to Golden Artist Colors, all UVLS-containing varnishes dissipate UV radiation before it damages pigments, though they cannot make fugitive colors completely lightfast.
Gloss vs. Satin vs. Matte

This is mostly a personal and aesthetic decision, but here is what each does to the painting surface:
Gloss reflects light in a specular (mirror-like) direction. Colors saturate deeply and dark values gain richness. Can create glare that makes the painting hard to read in certain lighting. Highlights every unintentional texture and brush ridge.
Matte uses matting agents that scatter light at the surface. Reduces glare. Can lighten the darkest values slightly and look streaky if applied unevenly. Application needs to be smooth and consistent.
Satin sits between the two and is often the most practical choice. It retains most of the color saturation from gloss while reducing reflective glare. Historically, representational painters favored gloss; abstract painters often chose matte, according to Gamblin’s technical documentation.
| Finish | Color Saturation | Glare | Best For |
|---|---|---|---|
| Gloss | High | High | Representational, portrait, still life |
| Satin | Medium-high | Low-medium | Most paintings, general use |
| Matte | Lower | Minimal | Abstract, contemporary, direct light environments |
Different sheens from the same brand can usually be mixed to hit a specific finish between gloss and matte.
Tools and Materials Needed
Getting the materials right before you start matters. Applying varnish with the wrong brush or in the wrong environment creates problems that are tricky to fix after the fact.
Brushes
Soft, wide-bristle brushes work best for brush-on varnish application. Stiff bristles can leave thin, streaky coats but are sometimes used deliberately for that reason. Soft brushes tend to deposit thicker, more even layers.
Winsor and Newton and da Vinci both make quality varnish brushes. Honestly though, a cheap 2-3 inch soft-bristle brush from a hardware store works fine if it is completely clean and lint-free. Keep a dedicated brush only for varnishing so no paint residue contaminates the coat.
Spray Setup vs. Brush Setup
Brush-on: flat surface, wide soft brush, separate container to pour varnish into (never dip directly from the can), lint-free cloth nearby for drips.
Spray: aerosol can, 30-40 cm distance from canvas, well-ventilated space with proper respiratory protection. Spray varnishes are significantly worse for your lungs without serious ventilation and a proper respirator, not just a dust mask.
Environment and Setup
The painting surface, the room, and your tools all need to be dust-free before varnishing. Dust that lands in wet varnish is permanent.
- Temperature: 16-24 degrees Celsius (60-75 Fahrenheit)
- Humidity: 40-60% relative humidity (conservation-standard range per Smithsonian research)
- No direct sunlight or air currents during application or drying
- Lay the painting flat on a horizontal surface for brush-on application to prevent drips
Lint-free cloth, tweezers for removing hairs, and a clean dust-free drying area round out the setup. Some painters wear a clean hat during application to prevent hair falling into the wet varnish. It sounds fussy but it saves a lot of frustration.
How to Prepare the Painting Before Varnishing
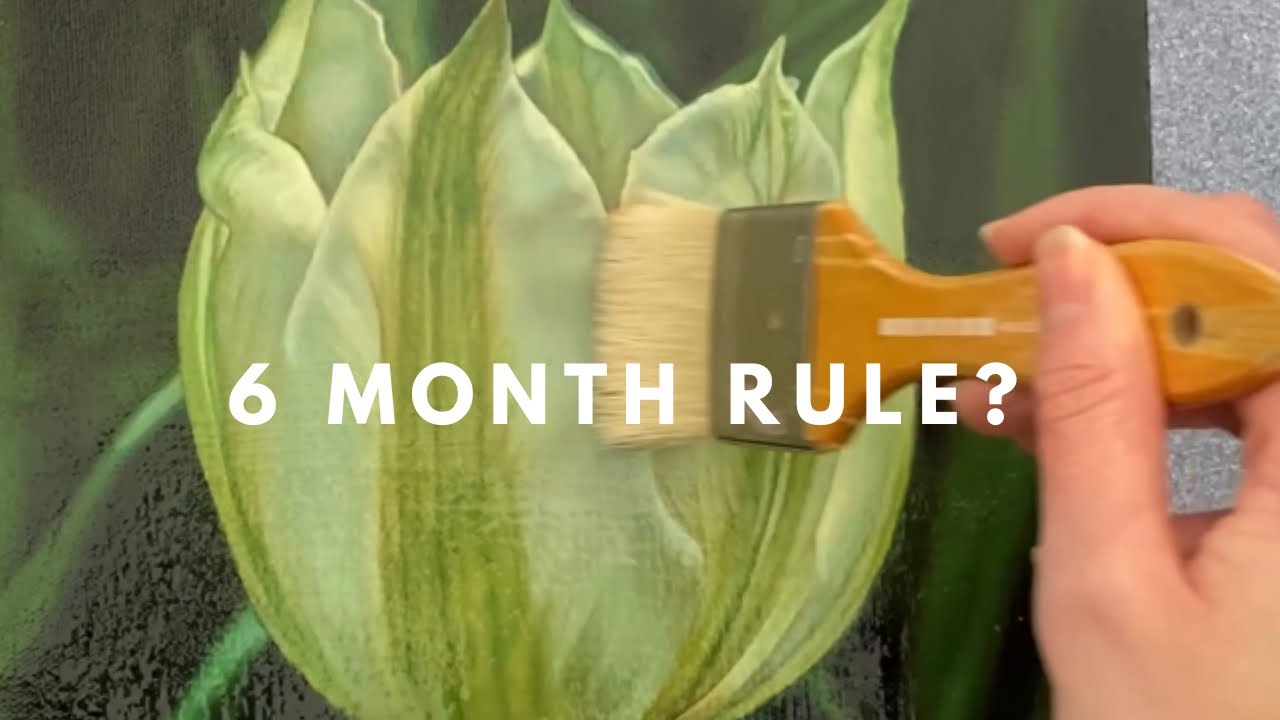
Surface prep is where most varnishing problems start. A painting that is not properly cleaned and assessed before varnishing will show every flaw, locked under the varnish coat permanently.
Cleaning the Surface

Use a very soft, clean brush to remove dust. That is usually all that is needed on a painting that has been stored properly.
What not to use: water, microfiber cloths, cleaning solvents, paper towels. All of these either damage the paint, leave fibers behind, or create surface problems. The Smithsonian’s Museum Conservation Institute specifically flags cleaning solvents as a risk to paint layers.
For small spots of dirt, slightly damp (not wet) latex-free swabs can be used carefully. Saliva is actually used by professional conservators for small, stubborn spots, verified by conservationists at the Erin Hanson studio. Sounds odd, but the enzymes in saliva are gentle enough not to disturb stable oil paint.
Checking for Sunken Areas
Sunken areas are dull, matte patches that appear when oil has been absorbed out of a paint layer by a too-absorbent underlayer or excessive use of solvents during painting. They look flat and lifeless compared to the rest of the surface.
Why this matters before varnishing: if you varnish over sunken areas without addressing them, the final coat will be uneven. Those patches will still look different from the rest even under varnish.
The fix is to “oil out” the affected areas before applying final varnish. Gamblin recommends a mixture of Galkyd medium and Gamsol, brushed thinly over the sunken spots and allowed to absorb and dry. This re-saturates the surface and reduces absorbency before the varnish goes on.
Retouch varnish can also be used to temporarily address sunken areas and assess whether the painting is ready for final varnishing. It is not a permanent solution but it shows you exactly where the surface issues are.
Applying an Isolation Coat
This step is optional for oil paintings but strongly recommended if you want the final varnish to be cleanly removable in the future.
Golden Soft Gel Gloss, thinned with water to a milky consistency, is the standard choice. It bonds permanently to the paint surface, providing a stable non-absorbent layer that protects the paint from the varnish solvent during both application and eventual removal.
Wait 24-48 hours after the isolation coat before applying final varnish.
How to Apply Varnish with a Brush

Brush application gives the most control over coverage and thickness. It works for most flat to moderately textured oil painting surfaces. The goal is a thin, even coat with no pools or streaks.
Step-by-Step Brush Application

Pour a small amount of varnish into a separate clean container. Do not dip the brush directly into the varnish bottle, as this contaminates the supply with brush hairs and any residue.
Lay the painting flat on a horizontal surface. This prevents drips and gives you better control over coverage.
- Load the brush moderately, not heavily. Wipe off any excess on the rim of the container.
- Work in long, even strokes in one direction across the surface.
- Cross over with strokes in the opposite direction to ensure even coverage.
- Do a final light pass in one direction to level any brush marks while the varnish is still wet.
- Check for pooling at edges or in textured areas. Use the tip of a dry brush to lift any pools before they dry.
One thin coat is better than one thick one. Most synthetic varnishes like Gamvar are designed for a single, thin application, but a second coat can be added once the first is fully dry if coverage feels uneven.
Common Brush Application Mistakes
Over-loading the brush causes pooling in texture areas and thick edges at canvas boundaries. It is the single most common cause of an uneven final coat.
Working back into partially dry varnish drags and tears the surface. Work quickly and decisively. If you miss a spot, wait until the coat is fully dry, then add a second thin pass rather than going back over wet varnish.
Brush marks that are visible immediately after application usually level out as the varnish dries. Give it at least 30-60 minutes before deciding there is a problem worth fixing.
According to Gamblin’s application notes, Gamvar specifically reactivates with Gamsol, which means brush marks and minor imperfections can be smoothed out after the fact without a full removal. That is a useful quality most other varnishes do not have.
How to Apply Varnish with a Spray Can
Spray application is not just a lazy alternative to brushing. For heavily textured surfaces and impasto technique work, it is genuinely the better method.
A brush cannot reach into deep paint ridges without pooling varnish at the base of each stroke. Spray distributes a fine, even mist across everything equally.
According to Winsor and Newton’s varnishing guide, aerosol varnishes are specifically recommended for fragile or heavily textured surfaces where brush pressure could cause damage or create pools.
Spray Distance and Motion
Hold the can 30-45 cm (12-18 inches) from the surface. Closer than that and varnish pools. Further and the fine droplets dry before they reach the canvas, leaving a dusty texture.
Grumbacher’s spray application guidelines recommend:
- Start the spray off the canvas edge, then move across in one steady pass
- Finish each pass off the opposite edge before releasing the nozzle
- Overlap each pass by about half an inch
- Rotate the painting 90 degrees between coats for even coverage
Never use a swinging motion with the can. The arc brings it closer to the canvas mid-stroke, which deposits more varnish in the center than at the edges.
Number of Coats and Drying Time
A sprayed coat of varnish dries within 10 minutes under normal conditions, per Will Kemp Art School’s technical research. Subsequent coats can go on once the previous one is dry to the touch.
Standard coat count by finish type (Winsor and Newton):
- Matte or satin: 1-2 coats maximum, to avoid cloudiness from matting agent build-up
- Gloss: up to 3 coats for added depth and richness
One practical note: always test the spray pattern on a piece of scrap board or card before committing to the painting. Nozzles clog, pressure varies, and the first second of spray is often uneven.
When Spray Is Better Than Brush

Spray varnish wins when:
- The surface has deep texture, thick ridges, or heavy impasto that would trap brush-applied varnish
- The paint layer is fragile or semi-dry and cannot take brush pressure
- You need to build multiple thin coats gradually, checking sheen as you go
Brush wins when you need precise control over varnish volume and placement, or when working in an environment where spray ventilation is not adequate. Spray varnishes release significantly more solvent into the air than brush application. A proper respirator (not just a dust mask) and serious ventilation are non-negotiable, not optional.
How to Remove Varnish from an Oil Painting
Removability is the defining feature of proper archival varnish. It is not a nice-to-have. It is the reason conservation-grade varnishes exist.
Over time, varnish yellows, darkens, and accumulates dirt. Removing and replacing it is how oil painting restoration professionals return paintings to their original appearance without touching the paint underneath.
How Conservators Approach Varnish Removal
Professional conservation starts with identification, not removal.
Conservator Marjan de Visser’s documented method (Restoration Studio, The Hague) involves examining the varnish under daylight and UV fluorescence first, then performing small solubility tests with individual solvents before committing to any treatment. The color of UV fluorescence tells experienced conservators which resin type was used, which determines the correct solvent system.
Natural resin varnishes (damar, mastic) respond differently than synthetic ones (Gamvar, Golden MSA). Using the wrong solvent on either type risks lifting paint along with the varnish.
Solvents for Home Varnish Removal
For artists removing their own recently applied varnish, the process is more straightforward than professional conservation work.
| Varnish Type | Recommended Solvent | Notes |
|---|---|---|
| Gamblin Gamvar | Gamsol (Gamblin OMS) | Dissolves within seconds, safe for oil and acrylic |
| Damar varnish | Distilled turpentine | Strongest solvency, per Winsor and Newton |
| Dammar or mastic | Mineral spirits | Milder than turpentine, test first |
| Synthetic varnish | Manufacturer-specified solvent | Varies significantly by brand |
Never use acetone on oil paintings. It dissolves many paint binders alongside the varnish and is too aggressive for studio use. Water is also not a cleaning solvent for oil paint surfaces.
Step-by-Step Removal Process
Always test in a corner first. Artists Network’s conservator guidelines are direct on this point: test each color passage individually, because different pigments have different solvent sensitivity within the same painting.
- Saturate a small lint-free cotton cloth with the solvent (Gamsol for Gamvar).
- Gently rub in a circular motion across a small area, a few square inches at a time.
- Watch the cloth. If color appears, stop immediately.
- Wipe dissolved varnish away with a dry cloth. Refold frequently to maintain absorbency.
- Work section by section across the painting. Don’t go back over areas that have already dried.
A final wipe with a fresh Gamsol-dampened cloth removes residual varnish film. Gamblin confirms this procedure does not harm oil or acrylic paintings when Gamvar is the varnish being removed.
When to Call a Conservator
For paintings that are historically significant, structurally fragile, or varnished with unknown materials, do not attempt removal yourself.
The American Institute for Conservation (AIC) maintains a Find a Conservator directory. Any painting showing flaking, active cracking, or paint instability needs professional assessment before any solvent work is considered.
Common Varnishing Problems and How to Fix Them
Most varnishing problems trace back to one of three causes: wrong timing, wrong environment, or wrong application technique. Knowing which one created the problem tells you how to fix it.
Cloudiness and Blooming
Cloudiness after varnishing is almost always a moisture problem. High humidity during application traps water in the drying varnish film, causing it to appear white, frosted, or hazy.
Cause: humidity above 65% during application, applying varnish in cold conditions, or varnishing a surface that has not fully warmed to room temperature.
The fix, per Gamblin’s technical support documentation: move the painting to a warm, dry environment at under 50% humidity. Many cases of cloudiness resolve on their own as the trapped moisture escapes over 3-14 days.
If it does not clear, applying a thin coat of gloss varnish over the cloudy area often reactivates the layer and allows moisture to escape. The gloss coat can be followed by satin or matte once the surface has stabilized.
Streaks and Brush Marks
Streaks on brush-applied varnish usually come from one of these:
- Working back into partially dried varnish
- Using a stiff or contaminated brush
- Applying varnish too thick in one area
- Satin or matte varnish that was not properly stirred before use (matting agents settle)
Fix: once fully dry, a second thin coat of the same varnish applied in the perpendicular direction often evens out brush marks. Golden Artist Colors’ varnish guidelines note that since their MSA varnish is resoluble, a second coat can re-dissolve and level the first.
Uneven Sheen
This is the problem of one area looking glossy and another looking flat even after varnishing. It is almost always caused by skipping the isolation coat or the “oiling out” step over sunken areas.
Absorbent areas drink the varnish in rather than letting it sit on the surface. The result is patchy, uneven sheen that a second coat of varnish will only partially fix.
The correct sequence: address sunken areas with a retouch varnish or oiling out step first. Apply an isolation coat (Golden Soft Gel Gloss). Then apply final picture varnish once the isolation coat is dry. This is the preparation sequence that prevents uneven sheen from appearing in the first place.
Bubbles in the Varnish
Bubbles form when varnish is applied too thick or brushed too aggressively, trapping air in the wet film.
Prevention is easier than the fix.
Golden Artist Colors’ application notes are specific: if applied in a thick state, varnishes show brush strokes and trap foam bubbles. Thin the varnish appropriately (3 parts varnish to 1 part solvent for brush application) and load the brush lightly.
If bubbles appear while the varnish is still wet, a single light feathering pass with a nearly dry brush can pop most of them. Leave the rest alone. Trying to brush out wet bubbles often creates more streaking than the bubbles themselves.
Once dried, minor bubbles can be addressed by applying a fresh thin coat that re-dissolves and levels the previous one, assuming the varnish is resoluble (Gamvar, Golden MSA). Non-resoluble varnishes require full removal and reapplication.
Understanding the full oil painting materials stack, from ground to paint layers to varnish, helps avoid most of these problems at the source rather than trying to correct them after the fact.
FAQ on How To Varnish An Oil Painting
How long should I wait before varnishing an oil painting?
Wait at least 6 to 12 months for most paintings. Thick impasto work may need up to two years. The paint must be fully cured, not just dry to the touch. Varnishing too soon traps solvents in the paint film, causing cracking and permanent cloudiness.
What is the best varnish for oil paintings?
Gamblin Gamvar is widely recommended for its water-clear finish, mild solvent base, and removability with Gamsol. Golden MSA Varnish is another strong option. Both include UV light stabilizers and meet conservation standards used by professional restorers.
Can I use spray varnish on an oil painting?
Yes. Spray varnish works well on textured surfaces and impasto work where brush application would pool. Hold the can 30-45 cm away. Apply in thin, even passes. Always use proper ventilation and a respirator, not just a dust mask.
What causes cloudy varnish on an oil painting?
High humidity during application is the most common cause. Moisture gets trapped in the drying varnish film. Apply varnish only when humidity is below 65%. Move the painting to a warm, dry space. Many cases clear on their own within a few days.
Do I need an isolation coat before varnishing?
It is strongly recommended. An isolation coat, typically Golden Soft Gel Gloss thinned with water, bonds permanently to the paint surface. It gives the varnish a stable, non-absorbent layer to sit on, making future removal cleaner and safer.
How many coats of varnish does an oil painting need?
Usually one thin coat is enough. For gloss varnish, a second coat can deepen the finish. Satin and matte varnishes should not exceed two coats, as multiple layers cause cloudiness from matting agent build-up, per Winsor and Newton’s guidelines.
How do I fix streaks in dried varnish?
Once fully dry, apply a second thin coat in the perpendicular direction to the first. For resoluble varnishes like Gamvar or Golden MSA, the new coat re-dissolves and levels the previous layer. Stir satin or matte varnish thoroughly before use to prevent uneven matting agents.
Can I remove varnish from an oil painting?
Yes, if a proper archival varnish was used. Gamvar removes with Gamsol. Damar varnish responds to distilled turpentine. Always test in a small corner first. If color appears on the cloth, stop immediately and consult a professional conservator.
What is retouch varnish and when should I use it?
Retouch varnish is a temporary, thin varnish applied weeks after completing a painting. It revives dull, sunken areas and provides light protection while the oil paint continues to cure underneath. It is not a substitute for final picture varnish.
Should I varnish an oil painting before or after framing?
Always varnish before framing. Working on a flat, unframed surface gives you full access to edges and allows the painting to lay horizontal during brush application. Framing after varnishing also prevents the frame from interfering with even spray or brush coverage.
Conclusion
This conclusion is for an article presenting how to varnish an oil painting as a process that protects your work for decades, not just a finishing touch.
Getting it right comes down to patience. Waiting for full paint cure, choosing a conservation-grade varnish like Gamvar or Golden MSA, and applying it in the right conditions covers most of what can go wrong.
Retouch varnish buys time. An isolation coat protects the paint film. And using a removable archival varnish means the painting stays serviceable long after you are done with it.
Whether you brush it on or spray it, the goal is the same: a clean, protective coating that preserves color saturation and keeps the surface stable for years to come.


