Most painters don’t struggle with technique. They struggle with color.
Knowing how to mix paint colors changes everything, from getting a clean purple without it turning gray, to matching a skin tone that actually reads as warm.
This guide covers the full process: color theory, pigment bias, tints and shades, medium-specific behavior, and how to fix the mixes that go wrong. Whether you work with acrylics, oils, or watercolors, the principles apply across all of them.
By the end, you will have a repeatable system for mixing any color with confidence.
What Color Mixing Is
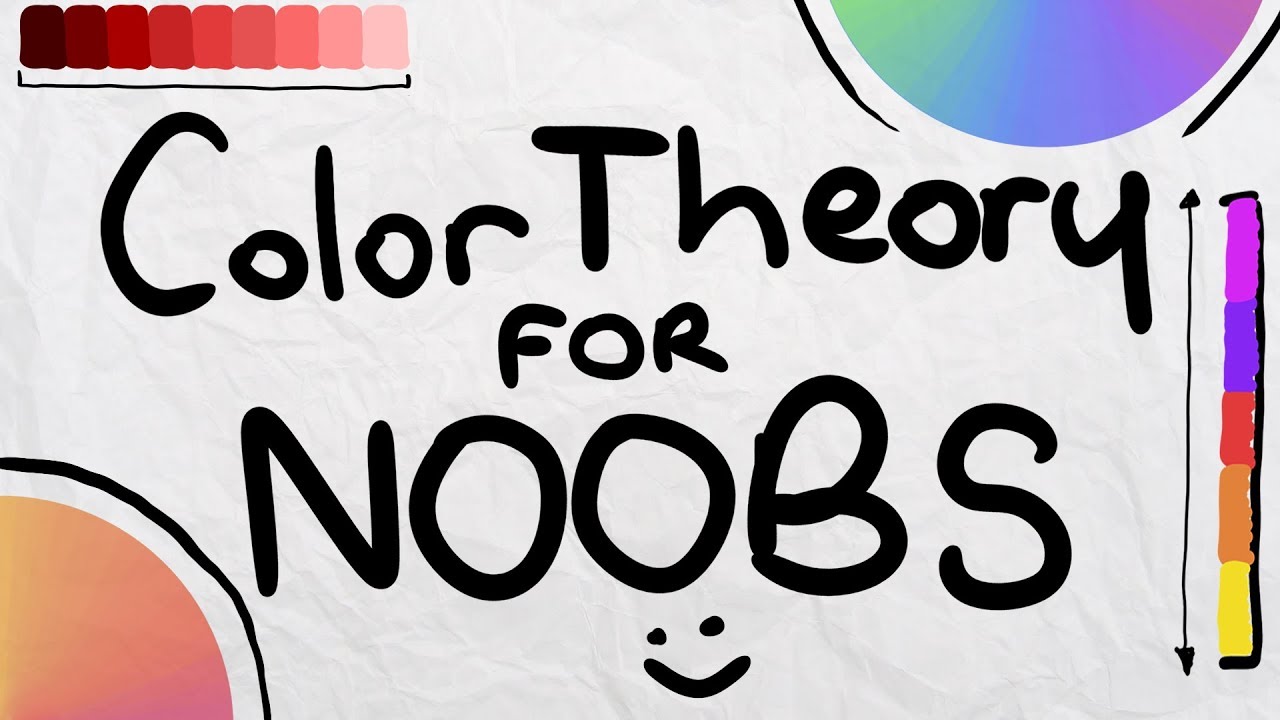
Color mixing is the process of combining two or more pigments to create a new hue, shift a color’s value, or change its color saturation.
There are two fundamentally different types of mixing. Additive mixing combines light (think RGB screens). Subtractive mixing combines physical pigments. When you pick up a brush, you are working entirely in subtractive territory.
In subtractive mixing, each pigment you add absorbs more wavelengths of light. The more pigments you combine, the less light reflects back. That is why mixing too many paints together tends to produce dull, dark results.
Understanding this mechanism matters. It explains why your purple turns gray, why your green goes muddy, and why a mix that looked right on the palette looks wrong on canvas.
Subtractive vs. Additive Mixing
The core difference: subtractive mixing removes light; additive mixing adds it.
- Subtractive: physical pigments, paints, dyes, inks
- Additive: light sources, screens, projectors, stage lighting
This distinction is why the colors you see on a monitor never look quite right when you mix them on canvas. The physics are different.
Artists working with digital references need to account for this gap. A color that looks vibrant on screen often requires a different pigment combination to replicate physically.
Why Pigment Chemistry Matters
Not all paints behave the same even when their labels say the same color name. Pigment load, particle size, transparency, and binder composition all affect how a color mixes.
Student-grade paints contain more filler and less pigment than artist-grade equivalents. This directly affects the purity of your mixes. A cadmium red in a student-grade tube will mix differently than the same pigment in a professional formulation.
Practical note: Golden Artist Colors and Winsor and Newton both publish detailed pigment information for each paint. Checking pigment codes (like PB29 for ultramarine or PR83 for alizarin crimson) gives you a consistent reference point across different brands.
The Color Wheel and Why It Matters for Mixing

The color wheel is a visual map of color relationships. Used correctly, it predicts mixing results before you ever pick up a brush.
Most painters learn the traditional RYB wheel (red, yellow, blue). It has roots going back to Franciscus Aguilonius in 1613 and became standard art education in the 18th century. It is practical, intuitive, and deeply embedded in how artists talk about color.
But it has real limits. The CMY model (cyan, magenta, yellow) is technically more accurate for subtractive mixing and produces a wider gamut of clean colors. The RYB wheel cannot produce a true cyan or magenta from its three primaries. CMY can produce red, yellow, and blue.
| Model | Primaries | Best For | Main Limitation |
|---|---|---|---|
| RYB | Red, Yellow, Blue | Traditional painting, art education | Cannot mix true cyan or magenta |
| CMY | Cyan, Magenta, Yellow | Printing, broader color range | Less intuitive for hands-on mixing |
| RGB | Red, Green, Blue | Digital screens, light mixing | Not applicable to physical paint |
Reading Color Relationships
The wheel organizes colors into relationships that predict mixing and color harmony.
Complementary colors sit directly opposite on the wheel. Mix them together and they neutralize each other. Place them side by side and they intensify each other visually. This is simultaneous contrast in action.
Analogous colors sit next to each other. Mixes between them stay clean and harmonious.
Triadic colors form a triangle. Mixing all three in roughly equal amounts tends to produce a neutral gray or brown, depending on your specific pigments.
Which Wheel to Actually Use
For most painters working with acrylics, oils, or watercolors, the RYB wheel is the working standard. Not because it is perfect, but because the pigment categories map better to what is actually on your palette.
Artists who want cleaner purples and more vibrant mixes often shift toward a split-primary approach, using quinacridone magenta and phthalo blue in place of standard red and blue. This is effectively moving toward CMY principles without fully abandoning RYB thinking.
Both approaches work. The key is understanding why your wheel of choice predicts certain mix results and not others.
Primary, Secondary, and Tertiary Color Mixes
These are the foundational combinations. Getting them right means understanding that ratio, not just combination, determines the result.
Primary Color Combinations
Red + Yellow = Orange. Shift the ratio toward red for a burnt orange or rust. Shift toward yellow for a bright golden orange. The specific pigments matter too. Cadmium red makes vibrant oranges. Alizarin crimson makes muted, brownish oranges.
Red + Blue = Violet or Purple. This is where most beginners hit a wall. A warm red like cadmium already leans toward yellow, which fights against blue. For clean purples, use a cool red (alizarin crimson, quinacridone rose) with ultramarine blue.
Yellow + Blue = Green. Lemon yellow with phthalo blue gives a bright, cool green. Cadmium yellow with ultramarine gives a warmer, more muted green.
Secondary to Tertiary: Ratio Changes Everything
Tertiary colors come from pushing a secondary mix toward one of its primaries.
- More red in orange = red-orange
- More yellow in orange = yellow-orange
- More blue in green = blue-green (teal range)
- More yellow in green = yellow-green (lime range)
- More red in violet = red-violet
- More blue in violet = blue-violet
Tiny ratio adjustments produce significantly different results. A 60/40 split looks different from a 70/30 split. This is why keeping a color mixing chart is worth the time.
Common Mistakes With Secondary Mixes
The biggest error is assuming any red and any blue will make a clean purple. They will not.
Cadmium red contains yellow pigment bias. Mix it with blue and you are actually mixing red, yellow, and blue together. Three primaries in one mix produces a neutral or gray, not a vibrant secondary. The solution is to choose the right version of each primary for the secondary you want.
How to Mix Tints, Shades, and Tones
Hue is what most people think of when they say “color.” But value (lightness and darkness) and intensity matter just as much.
Tints, shades, and tones are the three ways to adjust a color’s value and saturation without changing its basic hue identity.
| Term | Formula | Effect | Common Issue |
|---|---|---|---|
| Tint | Color + white | Lighter, softer | White reduces vibrancy (chroma) |
| Shade | Color + black | Darker, deeper | Black can kill saturation and shift hue |
| Tone | Color + gray, or + complementary | Muted, more natural | Hard to control without practice |
The Problem With Black
Adding black to darken a color seems logical. It often produces flat, dead results.
Ivory black has a cool, greenish bias. Mix it with a warm red and you get a grayish brown, not a deep red. Most experienced painters replace black with mixtures of complementary colors or pigments like burnt umber and ultramarine blue.
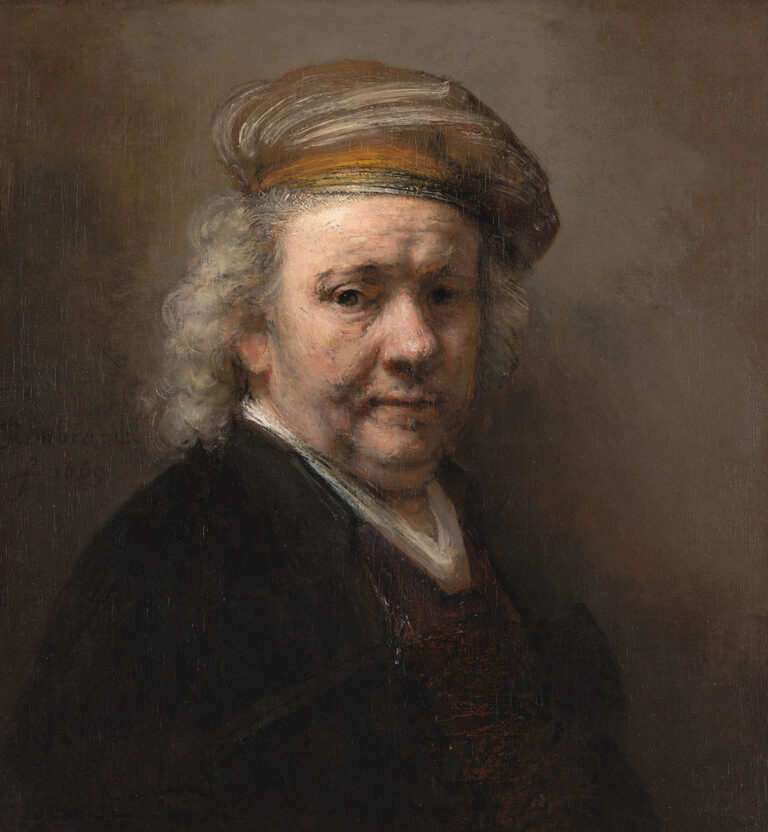
Rembrandt van Rijn, for instance, built his characteristic rich shadows using complex glazed mixtures of earth tones and transparent darks, not straight black. The depth in his shadow areas comes from color, not the absence of it.
Tinting Without Killing Vibrancy
Titanium white is very opaque and heavily desaturates mixes. It pushes colors toward chalky pastels quickly.
Zinc white is more transparent and preserves chroma better in tints. For watercolor, white is not used at all. Tints come from dilution with water, letting the paper’s brightness show through.
A practical approach: add color to white rather than white to color. You use less white, maintain better control, and waste less paint overall.
Mixing Neutral and Earth Tones
Browns, grays, and muted colors do not exist on a standard color wheel. You get there through complementary mixing, earth pigments, or both.
Mixing Browns From Scratch
Starting point: mix complementary colors together in unequal ratios.
Red and green is the most reliable brown combination. Adjust toward red for warmer browns, toward green for cooler, more earthy results. Add yellow to push toward orange-brown. Add blue to push toward dark chocolate tones.
The specific pigments determine whether the brown reads as warm (yellow-biased) or cool (blue-biased). I have found that burnt sienna as a starting point saves a lot of time compared to mixing raw from three primaries.
Mixing Warm vs. Cool Grays
Gray is not just black and white. A gray can lean warm, cool, or neutral, and that quality affects everything around it in a painting.
- Warm gray: ultramarine blue + burnt sienna + white, with sienna slightly dominant
- Cool gray: phthalo blue + burnt umber + white, with blue slightly dominant
- Neutral gray: complementary colors mixed to near-neutrality + white to adjust value
Painters working in realism or photorealism lean heavily on this. Accurate gray mixing is one of the fastest ways to make a painting read as realistic rather than flat.
When to Use Pre-Mixed Earth Tones
Raw sienna, yellow ochre, burnt sienna, burnt umber, and raw umber are earth pigments. They are stable, inexpensive, and mix cleanly with almost everything.
Mixing brown from three primaries every time is inefficient. Having a burnt sienna and burnt umber on the palette covers most neutral-to-warm color needs and frees up mental bandwidth for more complex decisions.
Paint Type and How It Affects Mixing
The same color combination produces different results depending on the painting medium. This is one area where beginners consistently get surprised.
Each medium has a different binder, drying behavior, and optical quality. These differences change how colors interact when mixed.
Mixing Acrylic Paints

Acrylics are water-based, fast-drying, and shift in value as they dry. The acrylic binder appears milky when wet and becomes clear as water evaporates. Golden Artist Colors notes this directly: the color shift is more noticeable in dark pigments (like ultramarine blue) than in lighter ones.
Practical rule: mix acrylic colors slightly lighter than your target. They will land where you want them once dry.
Acrylic’s fast drying time is both useful and frustrating. You can layer quickly. You cannot blend wet-into-wet for long without a retarder medium or a stay-wet palette.
Mixing Oil Paints

Oil paints dry slowly through oxidation, not evaporation. Colors stay workable on the palette and canvas for hours, sometimes days, depending on the pigment.
Certain pigments in oil dry faster than others. Burnt sienna and umber are fast driers. Ivory black and titanium white are notoriously slow. Mixing fast and slow driers in the same layer can cause cracking over time.
Key principle: work fat over lean. Early layers should have less oil. Later layers should have more. Reversing this causes the lower layer to dry and contract while the upper layer is still wet, which leads to surface cracks.
Oil painting was the preferred medium for masters like Rembrandt van Rijn and Johannes Vermeer precisely because its slow drying time allowed for complex blending and glazing effects that water-based media cannot replicate.
Mixing Watercolors

Watercolor painting uses transparent layers of pigment suspended in gum arabic. There is no white paint in traditional watercolor practice. Light areas are preserved as unpainted paper.
Mixing approach:
- Mix on the palette before applying to paper
- Wet-on-wet mixing happens directly on the paper surface and is less predictable
- Colors dry lighter as water evaporates (opposite of acrylics)
- Granulating pigments (like ultramarine) settle unevenly and create texture
Gouache behaves like watercolor in application but dries opaque. This changes mixing behavior significantly. Tints in gouache are created with white, not dilution, similar to acrylics.
Mixing across media types does not work. Acrylic paint cannot be reliably mixed with oil paint. Water-based and oil-based mediums separate. Stick to one medium per layer, or per painting.
Pigment Load and Color Bias
Two tubes labeled “red” will not mix identically. Every pigment has a bias, a subtle lean toward another color that determines what happens when it combines with something else.
This is the concept most beginner painters skip, and it explains a huge number of frustrating mixing results.
Warm and Cool Versions of Each Primary
Every primary color exists in warm and cool variants. Choosing the wrong variant for a mix is the most common reason secondaries go muddy.
- Warm reds (cadmium red, scarlet lake): lean toward yellow, ideal for clean oranges, bad for purples
- Cool reds (alizarin crimson, quinacridone rose): lean toward violet, ideal for clean purples, produce duller oranges
- Warm blues (ultramarine): lean toward violet, good for purples and warm shadows
- Cool blues (phthalo blue): lean toward green, good for clean greens and cool mixes
The science of colour confirms this directly: cadmium red contains a yellowish cast, making it unsuitable for mixing clean violet or purple when paired with blue.
Why the “Wrong” Red Kills Your Purple
Mix cadmium red with any blue and you are effectively mixing all three primaries at once. Red (with its yellow lean) plus blue gives you a de facto red-yellow-blue combination. Three primaries together produce a neutral, not a vibrant secondary.
The fix is simple: use alizarin crimson or quinacridone rose for purples, and reserve cadmium red for oranges.
Phthalo blue has a green bias. Mixing it with yellow produces bright, saturated greens. Mixing it with red for purple produces a muddier result than ultramarine would. Same blue, different outcome depending on the mix target.
Single-Pigment Paints vs. Pre-Mixed Formulations
Checking the pigment code on a paint tube matters more than most beginners realize.
A paint labeled “violet” from the tube might already contain both red and blue pigments (a pre-mixed convenience color). Adding another pigment to that mix means you are now working with three or more pigments in one mix. Muddy results follow.
Rule of thumb: single-pigment paints (one pigment code per tube) mix more cleanly and predictably than multi-pigment convenience colors. Artists Network recommends using artist-grade single-pigment paints specifically because student-grade paints do not contain enough pigment to yield clean, predictable results.
Mixing Paint to Match a Color
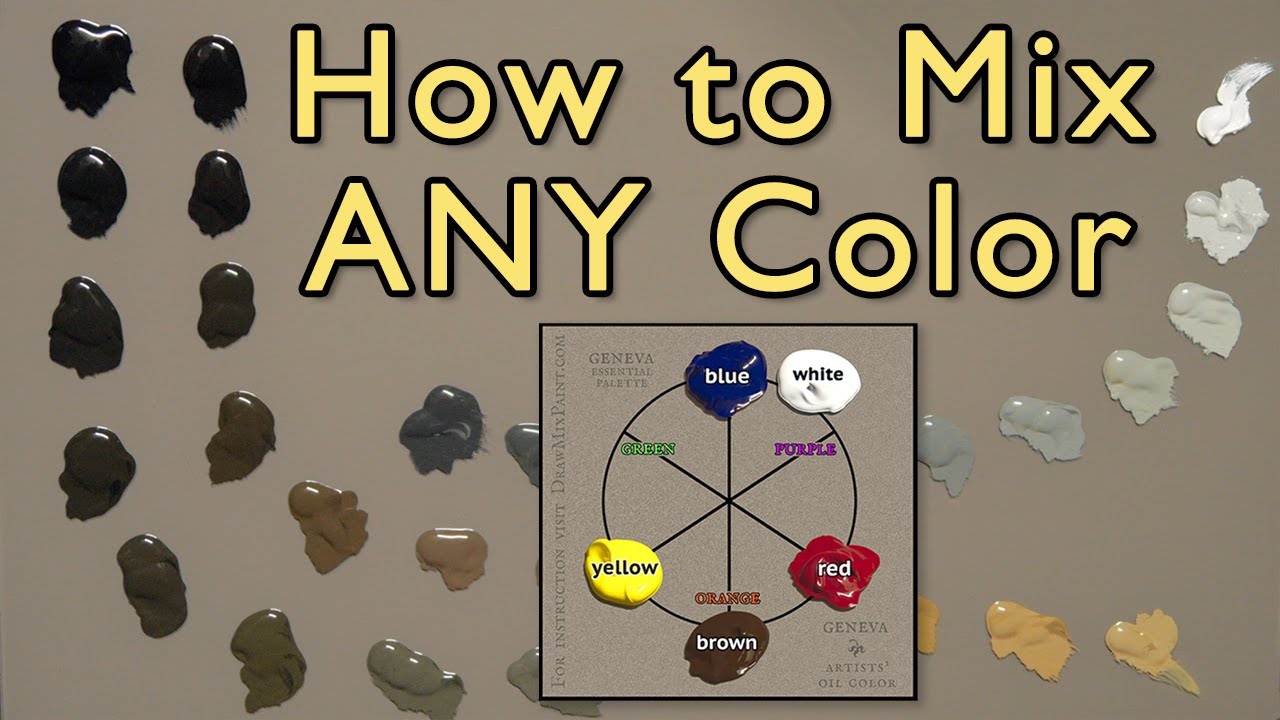
Accurate color matching is a skill. It takes a process, not guesswork, and most people approach it backwards.
The instinct is to chase the hue first. That is wrong. Value is what registers most strongly to the eye. Get the lightness or darkness right before adjusting hue.
The Right Order of Adjustments
Step 1 – Value first: Is the target color light or dark? Adjust your mix to roughly the right value range before anything else.
Step 2 – Hue family: Is it in the red-orange family, the blue-green family? Identify the dominant hue and start there.
Step 3 – Temperature: Does it lean warm or cool within that hue family? This tells you which version of the primary to use.
Step 4 – Saturation: Is it vivid or muted? Add a tiny amount of complementary color to push it toward neutral if needed.
Wet vs. Dry Color Shift: Accounting for It
Acrylic paints dry darker. The acrylic binder is milky when wet and clarifies as it dries, deepening the apparent color. Golden Artist Colors recommends mixing acrylic colors one step lighter than the target so the dried result lands where you need it.
Watercolors do the opposite. They dry lighter as water evaporates and pigment settles into the paper fibers. Mix watercolors slightly more saturated than your target for this reason.
Oil paints shift very little during drying. What you see on the palette is close to what you get, making oils more predictable for precise color matching than acrylics.
Testing Before Committing

Apply a small sample to a white surface and let it dry completely before assessing. Checking color while it is still wet leads to consistent misjudgments, especially with acrylics.
Sunlight can fade paint by up to 40% in 5 to 7 years, according to professional painting contractor research. For artists doing restoration work or matching existing painted surfaces, this means the apparent color on the wall is not the original color.
| Medium | Dry Shift Direction | Compensation Strategy |
|---|---|---|
| Acrylic | Dries darker | Mix one value step lighter than target |
| Watercolor | Dries lighter | Mix more saturated than target |
| Oil paint | Minimal shift | Match directly on palette |
| Gouache | Dries lighter and more matte | Test swatch on paper before applying |
Common Mixing Problems and Fixes

Every painter hits the same walls. The good news is these problems have repeatable, fixable causes.
Muddy Colors
Muddy colors happen when pigments get overmixed or unintentionally neutralized. Three or more pigments in a single mix almost always produces a dull, gray-brown result.
The two-color rule: start every mix with just two pigments. Add a third only when the first two cannot get you where you need to go.
Dirty brushes are an underrated cause. Even a small amount of residual pigment on a brush introduces a third color into the mix without you realizing it. Clean brushes between mixes, or use a palette knife for mixing and keep brushes only for application.
Over-Tinting With White
White reduces both value and chroma at the same time. A few too many additions and a vivid red becomes a flat, chalky pink with no life in it.
Alternatives that preserve vibrancy better:
- Use zinc white instead of titanium white for more transparent tints
- In watercolor, dilute with water rather than adding white at all
- Add a warm light color (like Naples yellow) instead of white for warm-light tints
Colors Going Too Dark, Too Fast
Dark pigments have high tinting strength. Phthalo blue, phthalo green, and burnt umber can overpower a mix with a tiny addition. A brushload of phthalo blue goes a long way further than a brushload of ultramarine.
Always add dark pigments to light. Start with the light color and introduce the dark in small increments. Reversing this wastes paint and control.
If a mix has gone too dark, adding white is not always the answer. White shifts the hue and chroma alongside the value. A better option is to add more of the light base color to bring the mix back up without whitening it.
Fixing a Mix That Has Gone Too Neutral
A mix that has become too gray or brown has too many complementary pigments in it. You cannot reverse this by adding more pigment to the same mix.
Start a fresh mix. Take note of which combination created the neutral so you can use it intentionally next time for shadows or muted tones. This is actually one of the more useful accidents in color mixing.
Tools and Materials for Accurate Mixing
The surface you mix on and the tools you use affect results more than most people expect.
Choosing the Right Palette Surface
Surface choice changes how you read and manage color during mixing.
Glass palettes are non-porous, show true color without surface interference, and clean up with a razor blade. The main downside is they break if dropped. Artists like Emily Hammell Capestro (as noted by Realism Today) specifically cite grey-toned glass as ideal because it shows accurate color readings without the distortion of a pure white surface.
Stay-wet palettes keep acrylics workable for hours using a damp sponge and membrane system. For multi-session work in dry climates, they are close to indispensable.
Disposable paper palettes are convenient but have one real limitation: they are not completely flat, which makes precise palette knife work harder.
Palette Knife vs. Brush for Mixing
Most artists default to brushes for mixing. That is usually the wrong call.
Mixing with a brush wears down bristles faster, leaves residual pigment in the ferrule, and makes it harder to get a thorough, even mix. A palette knife mixes more thoroughly, keeps brushes clean, and allows for larger paint batches that stay workable longer.
The painting palette setup matters just as much as the mixing tool. Keep mixed colors in a consistent area of the palette, with pure pigments around the edges. This prevents accidental contamination and makes it easier to return to a mix later.
Keeping a Color Mixing Record
Reproducibility is the real challenge in color mixing. Getting a color right once is one thing. Replicating it three sessions later is another.
A swatch sheet or color mixing journal documents combinations that worked, with approximate ratios noted beside each sample. Daniel Smith Artists’ Materials recommends labeling every swatch with the exact pigments used alongside their ratios, so results can be reconstructed reliably.
For larger projects: mix in bigger batches than you think you need. Running out of a custom-mixed color midway through a painting and trying to remix it exactly is one of the most frustrating situations in painting. Mix more, store the remainder in a sealed container or on a covered stay-wet palette.
Blending acrylic paint in large uniform batches is especially worth planning ahead for, since acrylic dries fast and color-matching a dried mix is tricky even with notes.
FAQ on How To Mix Paint Colors
What are the basic primary colors used in paint mixing?
The traditional primary colors are red, yellow, and blue (RYB model). These cannot be created by mixing other colors. All secondary and tertiary colors come from combining them in different ratios.
Why do my mixed colors look muddy?
Muddy results come from mixing too many pigments at once or combining complementary colors in equal amounts. Stick to two pigments per mix. Clean your brush between colors to avoid accidental contamination.
How do I mix a color to match a reference?
Start with value, not hue. Get the lightness or darkness right first, then adjust the hue family and temperature. Test on a white surface and let it dry before making a final assessment.
What is color bias and why does it matter?
Every pigment leans warm or cool. Cadmium red leans yellow; alizarin crimson leans violet. Color bias determines whether your secondary mixes come out clean or go dull. Choosing the right primary variant is key.
How do I mix a clean purple or violet?
Use a cool red like alizarin crimson or quinacridone rose paired with ultramarine blue. Avoid cadmium red, which has a yellow bias. That yellow fights the blue and produces brown instead of a clean color.
How do I lighten a color without making it chalky?
Titanium white desaturates heavily. Try zinc white for more transparent tints, or use a lighter warm color like Naples yellow instead. In watercolor, simply dilute with water rather than adding white at all.
How do I mix brown paint from scratch?
Combine complementary colors in unequal ratios, red and green work reliably. Shift toward red for warm browns, toward green for cooler tones. Adding yellow pushes toward orange-brown; adding blue deepens toward dark chocolate. Check out our guide on how to mix green paint for complementary starting points.
Why does my acrylic paint look different once dry?
Acrylic binder appears milky when wet and clarifies as it dries, making colors darker. Always mix acrylics one value step lighter than your target. Watercolors do the opposite and dry lighter as water evaporates.
What is the difference between a tint, shade, and tone?
A tint adds white to a color. A shade adds black. A tone adds gray or a complementary color to mute it. Each affects color saturation and value differently without changing the base hue.
How do I mix skin tones?
Start with a warm base of red, yellow, and white in low ratios. Adjust with burnt sienna or raw umber for depth. Cool the mix slightly with a touch of blue for shadows. See our full guide on how to mix skin tones.
Conclusion
This conclusion is for an article on how to mix paint colors, and the core takeaway is straightforward: clean results come from understanding your pigments, not from mixing more of them.
Pigment bias, medium behavior, and value control are the three things that separate frustrating mixes from reliable ones.
Whether you are working with acrylic, oil, or watercolor, the same principles apply. Choose the right primary variant, limit your mix to two pigments, and always check value before hue.
Keep a color mixing chart. Document what works. Subtractive color mixing rewards patience and observation more than instinct.
The more deliberately you mix, the less paint you waste and the more control you gain over every color on the canvas.