

Most painters don’t struggle with color. They struggle with knowing what to do with the paint once it’s on the brush.
Acrylic painting techniques determine everything – texture, blending, layering, depth. The same tube of paint produces wildly different results depending on how it’s applied, diluted, or built up.
Acrylics are the most widely used painting medium among artists today, accounting for 32% of global art paint volume in 2024. They work for beginners and professionals alike, across styles from photorealism to fluid abstract art.
This guide covers the core techniques – dry brushing, glazing, impasto, wet-on-wet, pouring, masking, underpainting, and blending – with practical guidance on when and how to use each one.
What Are Acrylic Painting Techniques
Acrylic painting techniques are specific methods of applying, layering, or manipulating acrylic paint on a surface to produce a desired visual result. Each technique takes advantage of properties that are unique to acrylics: fast drying time, water-based cleanup, and the ability to behave like watercolor when thinned or like oil paint when used straight from the tube.
That range is what makes acrylics genuinely different from other painting mediums. You don’t get that kind of flexibility with oil paint or watercolor. Acrylics sit in between, and depending on what technique you use, they can convincingly imitate either.
Nearly 49% of U.S. adults participate in painting and creative activities (Amra & Elma, 2024), and the global art paint market reached an estimated $4.09 billion in 2024. Acrylic paints alone represent around 32% of global art paint unit volume, ahead of both watercolors and oils (Industry Research Biz, 2024).
The global acrylic paint market is projected to grow from $144.6 million in 2025 to $218.2 million by 2035, at a CAGR of 4.2% (Future Market Insights, 2025).
What Separates Acrylics from Other Mediums
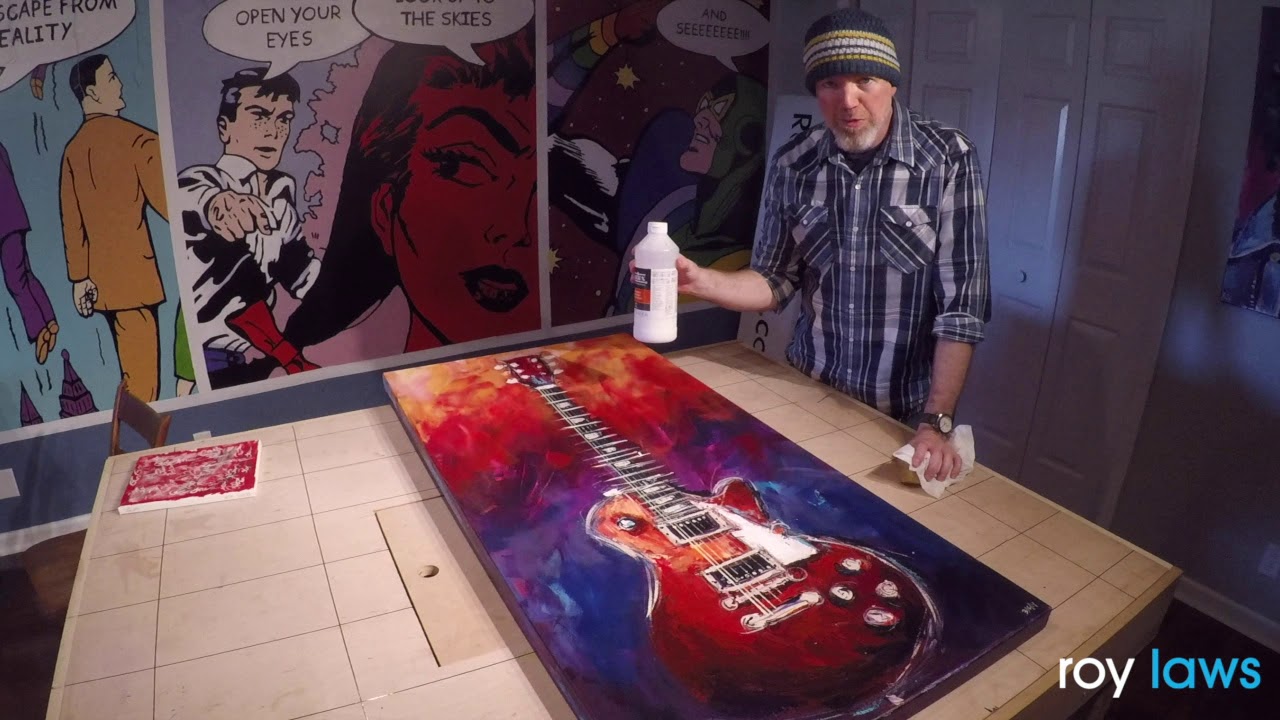
The two core properties that shape every acrylic technique are fast drying time and water solubility before drying.
- Most acrylics dry to the touch in 10–30 minutes, depending on thickness and humidity
- Once dry, they become water-resistant and flexible
- They can be thinned to near transparency or built up thick enough to hold palette knife marks
- They bond to canvas, wood, metal, fabric, and paper
Well, the thing is – that fast drying time is both the biggest advantage and the biggest source of frustration for beginners. Blending two colors directly on canvas? You have maybe 60 seconds before the paint starts to set. Learning to work with that, rather than against it, is what most techniques are really about.
| Property | Acrylics | Oil Paint | Watercolor |
|---|---|---|---|
| Drying Time | Minutes to hours: High speed; great for layering but requires fast blending. | Days to weeks: Slowest; allows for endless manipulation on the canvas. | Minutes: Very fast; dry layers can be reactivated with a wet brush. |
| Consistency Range | Extremely broad (washes to thick, sculptural impasto). | Medium to very thick; maintains rich, buttery peaks. | Limited to thin, transparent washes. |
| Surface Compatibility | Universal: Sticks to canvas, wood, fabric, metal, and plastic. | Requires primed surfaces (gesso) to prevent oil from rotting the support. | Primarily specialized, absorbent paper. |
| Cleanup | Soap and water (must be cleaned before paint dries). | Requires solvents (turpentine or mineral spirits). | Water (even after the paint has dried in the palette). |
To understand the broader context of how acrylics fit into art history, the history of painting traces how mediums shifted from tempera and fresco to oils, and eventually to modern synthetics like acrylics in the mid-20th century.
Acrylic Paint Formulations and What They Mean for Technique
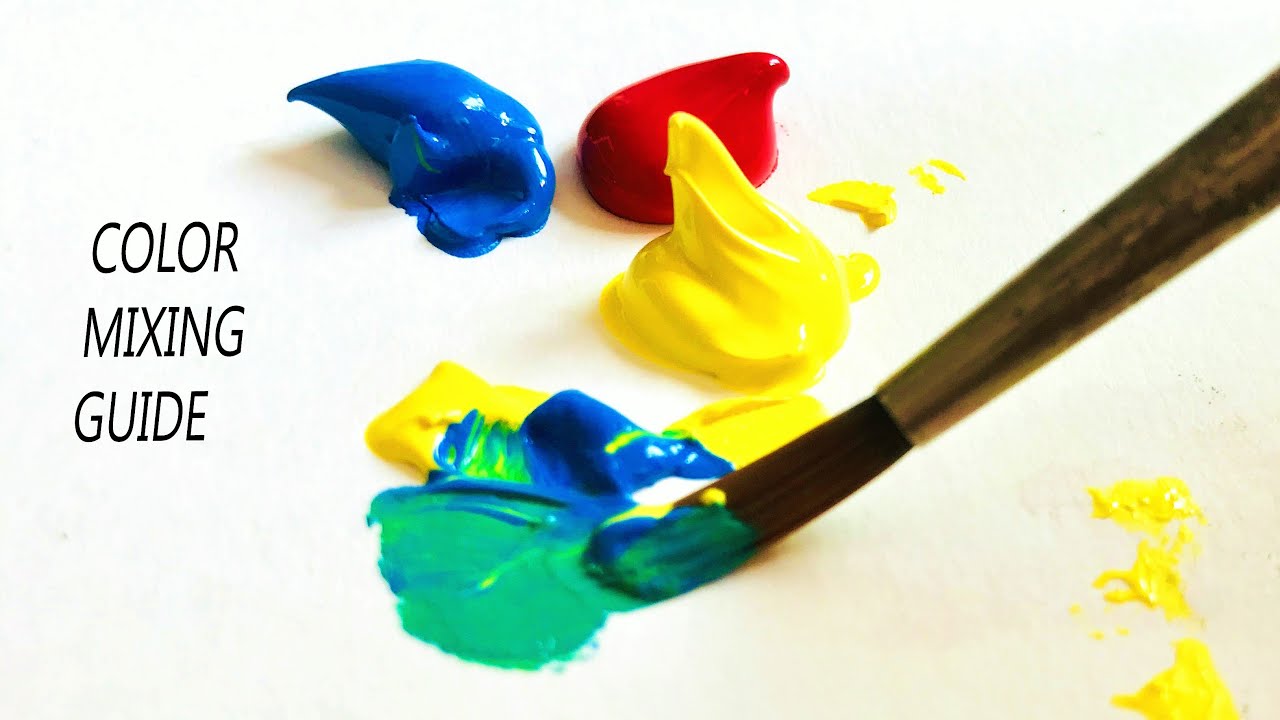
Heavy body acrylics hold the largest market share at 54.2% in 2025 (Future Market Insights), and that dominance makes sense. They’re the most versatile.
Each formulation opens up different technique options:
- Heavy body: High viscosity, retains brush strokes and palette knife marks, ideal for impasto and texture work
- Fluid acrylics: Lower viscosity, excellent for glazing, fine detail, and pouring techniques
- Open acrylics: Slower drying formula, better for wet-on-wet blending
- Acrylic inks: Extremely fluid, used for fine lines, washes, and mixed-media work
Golden Artist Colors, for instance, makes both heavy body and fluid lines specifically because the target techniques are different. Liquitex does the same with their Professional range. The paint you pick before you even touch a brush determines which techniques are actually available to you.
Dry Brushing
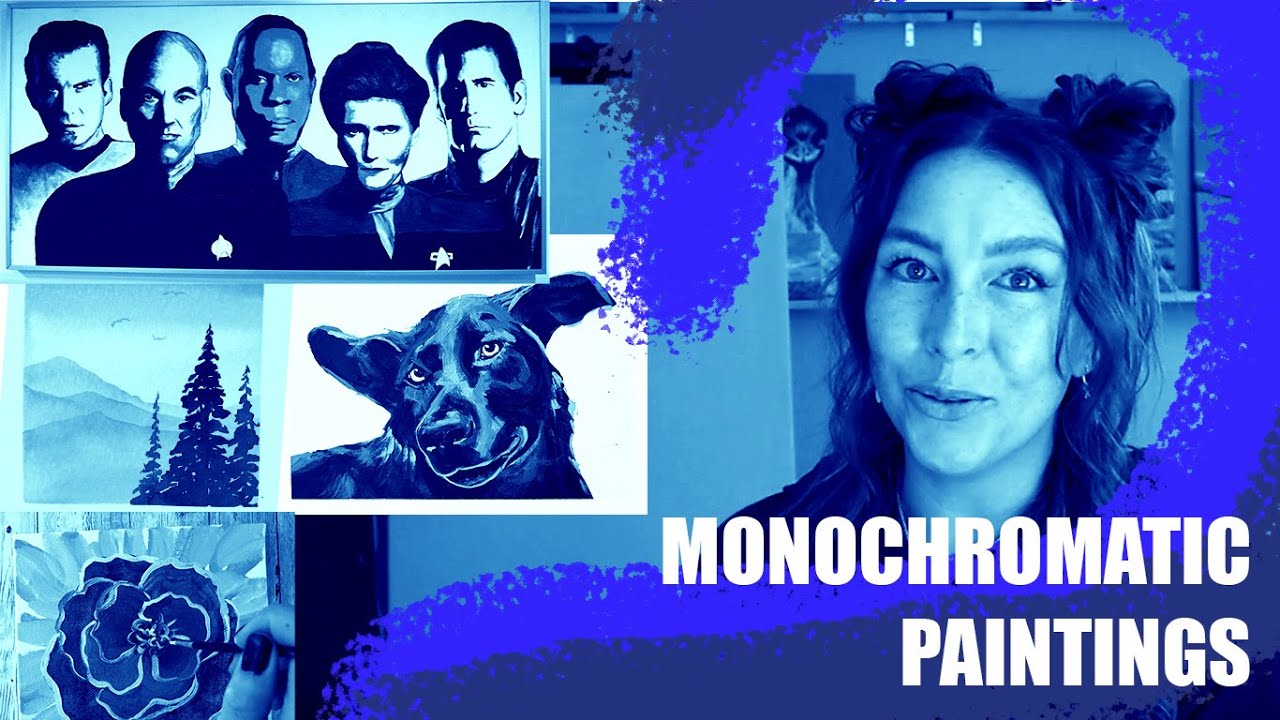
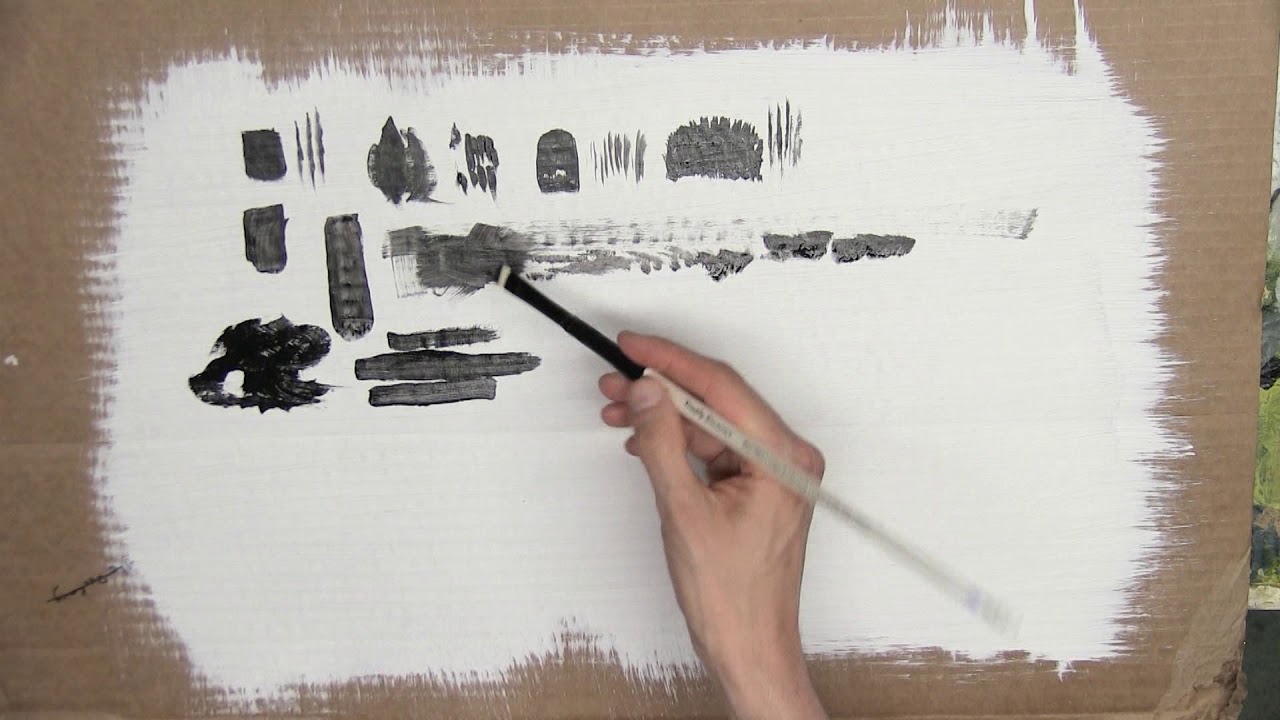
Dry brushing in acrylic painting is a method where most of the paint is wiped off the bristles before applying them to the canvas surface. What’s left is barely enough to coat the high points of the canvas texture, creating a broken, scratchy mark rather than a solid stroke.
It’s one of the oldest texture techniques in painting. Andrew Wyeth used dry brushing extensively to capture the grain in wood and the roughness of weathered surfaces. The technique works in acrylics for the same reasons it works in any medium – the canvas texture does half the work for you.
How Dry Brushing Works in Practice
Dip your brush lightly into thick, undiluted paint. Then blot the bristles on a paper towel until almost nothing comes off. What you want is barely a trace of paint on the brush.
- Use a stiff-bristled brush – hog hair or a worn-out synthetic works well
- Drag the brush quickly and lightly across the surface
- The paint catches on raised texture, leaving gaps where the canvas shows through
- Work over a dry base layer for maximum contrast
Took me a while to stop over-loading the brush. The instinct is to put more paint on when the effect looks too subtle. Wrong call. Add another light pass instead – the layers stack and the effect gets stronger without turning muddy.
Best Uses for Dry Brushing

Dry brushing shines for specific textures and effects. It’s not a general-purpose technique – force it onto the wrong subject and it looks rough in the wrong way.
Where it works best:
- Fur, grass, and hair – the broken marks read as individual strands
- Wood grain and bark – drag along the grain direction
- Clouds and mist – soft brushes create a diffused, airy edge
- Highlights on water – lighter color over a dark base catches the light convincingly
- Stone and rough terrain – adds weathered, aged surface character
Dry brushing also pairs well with underpainting in acrylic painting – building texture on a dry tonal base before dragging a lighter color across the raised paint gives results that look far more complex than the actual process.
Common Dry Brushing Mistakes
Too much paint is the main one. Every beginner does it.
Beyond that:
- Using soft brushes – they collapse and don’t create the scratchy texture
- Pressing too hard – destroys the broken mark quality
- Dry brushing over wet paint – it drags and mixes instead of sitting on top
Always test your brush load on a scrap piece of canvas first. If you see solid color, blot more paint off. You should barely see the stroke on the test surface before applying it to the actual painting.
Wet-on-Wet Painting
Wet-on-wet means applying fresh paint directly onto paint that hasn’t dried yet, so the two layers interact and blend on the surface itself rather than on a palette. With oil paint, the technique is easy to pull off – oils stay wet for days. With acrylics, you’re working against a drying window measured in minutes.
Bob Ross made wet-on-wet famous using oils. Replicating that softness with acrylics requires deliberate adjustments to either the paint or the working surface. Without them, you’ll just get muddy drag marks and frustration.
Keeping Acrylics Wet Long Enough to Blend
This is the actual problem. Solve it first.
Stay-wet palette: A sealed palette with a damp membrane keeps paint workable for hours. Golden and Daler-Rowney both make reliable versions. This alone changes the experience of painting with acrylics.
Retarder medium: Mixed directly into paint, it slows drying time by 20–40%, giving more time to blend on the canvas.
Misting the canvas: A light water mist from a spray bottle keeps the surface damp enough to work into for an extra few minutes. Don’t overdo it – too much water breaks down the acrylic binder and the paint loses adhesion.
Open acrylics: Brands like Golden OPEN are formulated specifically for extended blending. They can stay wet for up to an hour in the right conditions. Worth the investment if wet-on-wet is a regular part of your practice.
Soft Blending vs. Hard Blending
| Approach | Result | Best For | Key Tool |
|---|---|---|---|
| Soft Wet-on-Wet | Gradual color transitions; seamless, “smoky” appearance. | Atmospheric Effects: Skies, soft skin tones, and distant backgrounds. | Fan brush or soft synthetic flat brush. |
| Hard Wet-on-Wet | Colors meet with a visibl distinct boundary. | Graphic Impact: Bold color blocking, architectural forms, or sharp-edged abstraction. | Palette knife or stiff hog-bristle brush. |
| Feathering | A soft, directional fade that tapers off into the background. | Light & Shadow: Creating subtle light gradients or “fuzzing” the edges of a focal point. | Soft round or filbert brush. |
The alla prima wet-on-wet approach – completing a painting in one session while paint stays wet throughout – is possible with acrylics but requires planning. Work quickly, mist frequently, and accept that the result will look slightly different from an oil alla prima. The softness is there, but the color mixing is harder to control.
What to Avoid
Working in thick layers wet-on-wet usually makes a mess. Thin layers blend far more predictably.
Avoid mixing too many colors together directly on the canvas – three colors blended wet-on-wet tends toward gray or brown. Two colors maximum on any given area, then let it dry before adding a third.
Glazing
Glazing in acrylic painting is the process of applying thin, transparent layers of paint over a completely dry surface. Each layer modifies the color underneath without fully covering it. The light passes through the transparent glaze, bounces off the dry layer below, and returns – creating a depth and luminosity that opaque paint can’t produce on its own.
Glazing has been central to painting since the Flemish painters of the 15th century. Jan van Eyck built entire paintings using transparent oil glazes. With acrylics, the fast drying time actually makes glazing more practical than with oils – each layer is dry and ready for the next in 20–30 minutes rather than days.
How to Mix and Apply a Glaze
A glaze is paint diluted until it’s nearly transparent, with either water or a dedicated glazing medium.
Water-to-paint ratio: Start around 3:1 medium to paint. The result should have a consistency similar to milk. Too thin and it loses adhesion. Too thick and it stops being transparent.
Glazing medium vs. water: Glazing medium (like Liquitex Glazing Medium) is preferable. It extends drying time, keeps the paint flexible, and doesn’t break down the acrylic binder the way excess water can. Water is fine for thin washes, but repeated dilution weakens the paint film over time.
Apply glazes in smooth, even strokes over bone-dry paint. Allow complete drying between each layer. Four to six glazes can build remarkable color depth – most beginners stop at one or two and wonder why the effect seems flat.
What Glazing Can Do
Color depth through glazing works on a principle similar to how colored glass works – each transparent layer tints the light coming through it.
- Warm a cool shadow by glazing burnt sienna over blue-grey
- Create the illusion of glass or water by layering transparent blues and greens
- Unify a painting’s color temperature with a thin overall glaze
- Build skin tones with warm and cool transparent layers alternating
Glazing pairs naturally with grisaille painting – starting with a full grey-scale underpainting and then applying transparent color glazes over it. The tonal structure is established first, and color comes entirely from the glazes. Some portrait painters still use this method because the control over value and color is almost total.
Glazing vs. Washing

These two terms get confused constantly.
A wash is paint diluted with water to create a thin, slightly translucent layer, usually applied wet and allowed to pool or bleed. A glaze is controlled, transparent, and applied over a dry surface specifically to modify the color below it.
Washes are for loose backgrounds and texture. Glazes are for deliberate color-building. They look similar in isolation but serve different purposes in a painting.
Impasto

Impasto in acrylic painting means applying paint thickly enough that it builds real physical texture on the surface. Brush marks stand up. Palette knife ridges hold their shape. The paint itself becomes part of the visual experience, not just the carrier of color.
Heavy body acrylics dominate the market at 54.2% share in 2025 (Future Market Insights), and impasto is a core reason. Their thick consistency and high pigment load hold texture as they dry without slumping.
Artists like David Hockney and Jackson Pollock pushed thick paint application into defining features of their work. In Pollock’s case, the texture was inseparable from the meaning of the painting.
Tools for Impasto Work

Brushes work but palette knives work better for most impasto applications.
Palette knife: Applies large quantities of thick paint quickly. Creates flat planes, ridges, and sharp edges that brushes can’t make. The angle of the knife changes the mark completely – flat for smooth application, edge for ridges, tip for fine texture.
Stiff bristle brush: Hog hair brushes leave visible, directional brush marks in thick paint. Works well for textured strokes that still carry a sense of direction.
Painting knife: Similar to a palette knife but with a pointed tip. Better for finer detail work within thick paint passages.
See our full guide on how to use a palette knife for a complete breakdown of angles and mark-making approaches.
Extending Paint for Impasto Without Cracking
Thick acrylic paint can crack if the outer surface dries faster than the interior. This is less common than with oils but still happens, especially on large impasto applications.
Two mediums prevent this:
- Impasto gel (Golden or Liquitex): Extends paint volume while keeping flexibility. Mix 1:1 or higher depending on how much texture is needed.
- Modeling paste: Creates extremely stiff, sculptural texture. Heavier than gel medium and dries matte. Better for structural texture than paint-like marks.
For more ideas on building surface texture, the acrylic paint texture ideas guide covers a wide range of approaches beyond impasto.
Stippling and Sponging
Stippling and sponging are both texture-building techniques that apply paint through repetitive contact rather than brush strokes. They produce organic, varied surfaces that are tricky to replicate with a standard brush.
Both techniques appear in work across multiple painting styles – from pointillist-influenced approaches to loose landscape backgrounds to theatrical set painting. They’re also among the most approachable techniques for beginners because the results are forgiving.
Stippling

Stippling is the application of small, repeated dots or dabs of paint using the tip of a brush held perpendicular to the surface. Unlike pointillism (which uses precise, consistent dots to create optical color mixing), acrylic stippling is usually looser and more textural.
The density and size of the dots control the visual result. Sparse, large dabs read as texture or foliage. Dense, small dots build into areas of broken color. Load a stiff brush lightly, press it straight into the surface, and lift cleanly. Dragging creates smears, not dots.
Stippling in acrylic painting works especially well for:
- Tree foliage and shrubs – the irregular edges look natural
- Stone and rock texture – layered stippling in 3–4 tones builds convincing depth
- Sand and granular surfaces – fine-tipped stippling over a flat base
Sponging
A natural sea sponge dipped lightly into paint and pressed onto the canvas creates marks no brush can make – irregular, cellular, and varied in every application. Synthetic sponges produce a more uniform texture, which is less useful for organic effects but fine for backgrounds.
Sponging in acrylic painting is particularly effective for:
- Background foliage in landscape work
- Atmospheric texture in sky and cloud passages
- Aged or distressed surface effects in decorative painting
Key difference from stippling: sponging covers more area per application with less control over individual marks. Stippling gives more precision but takes longer to build coverage.
Combining Both Techniques

In practice, stippling and sponging layer well together. A sponged base layer creates the overall value and color distribution. Stippled details on top add specificity – individual leaf shapes, texture variations, and focal points.
The combination is common in landscape painting techniques for handling mid-ground tree masses, where overall shape matters more than individual leaves but some variation in the surface is still needed.
Pouring and Fluid Techniques

Acrylic pouring is a technique where highly thinned, fluid paint is poured, tilted, or manipulated across a surface to create organic abstract patterns. The paint moves on its own. The artist guides it, not controls it.
The global fluid acrylic paints market was valued at approximately $2.3 billion in 2023 and is projected to reach $3.9 billion by 2032 at a 6.0% CAGR (DataIntelo, 2024). That growth tracks almost exactly with the rise of pour painting as a mainstream hobby, driven largely by social media tutorials.
Acrylic pouring art took off partly because Liquitex and Golden both released dedicated pouring mediums in the mid-2010s, making the technique more consistent and accessible. Before that, people were improvising with Floetrol (a paint conditioner) and household PVA glue. Some still prefer those routes.
Fluid Acrylics vs. Regular Acrylics for Pouring
Regular heavy body paint will not pour. It’s too thick and won’t flow across the surface evenly without breaking down the acrylic binder.
The right materials for pouring:
- Fluid acrylics or high-flow acrylics thinned to a honey-like consistency
- A pouring medium (Liquitex Pouring Medium, Golden GAC 800, or Floetrol)
- Silicone oil added in small amounts creates “cells” – the circular lacing patterns many pour paintings are known for
- A leveled surface is non-negotiable. Even a slight tilt produces uneven color distribution.
Core Pouring Methods
| Method | How It Works | Result |
|---|---|---|
| Dirty Pour | Colors are layered into a single cup without stirring, then poured onto the canvas in a steady stream or circular motion. | Flowing Masses: Large, organic ribbons of color that blend naturally where they meet. |
| Flip Cup | A cup loaded with layered colors is inverted directly onto the canvas. The cup is then lifted or slid to release the paint. | Concentrated Burst: A central explosion of color that spreads outward, often producing a high volume of “cells.” |
| Swipe | Colors are poured side-by-side. A damp paper towel, palette knife, or plastic card is gently dragged across the surface. | Lacy Patterns: Creates thin, delicate streaks and promotes the “rising” of underlying colors through the top layer. |
| Dutch Pour | Paints are poured onto the canvas and then manipulated using a hairdryer or by blowing through a straw. | Feathered Edges: Thin, wind-blown layers that look ethereal and smoky, often revealing the background color through the “petals.” |
See the full breakdown of acrylic pouring techniques for step-by-step guides on each method, including ratios for different pouring mediums.
Drying and Finishing Poured Paintings
Poured paintings take longer to dry than standard acrylic work. A thick pour can stay wet for 24–72 hours.
Cover the drying piece loosely with a box or tent – dust and debris will stick permanently to the wet surface. Once completely dry, sealing the painting with a UV-resistant varnish protects the poured surface from yellowing and color shift over time, which fluid acrylics are more prone to than heavy body formulations.
Masking and Negative Space Painting
Masking is the process of protecting areas of a painting surface so paint can’t reach them. When the mask is removed, the protected area creates a hard-edged shape. Negative space painting flips the approach entirely: instead of painting the subject, you paint everything around it.
Both techniques are about what you don’t paint as much as what you do. That’s a discipline most beginners skip, and it shows in their work.
Masking Tape and Masking Fluid

Painter’s tape (low-tack, not regular masking tape) is the go-to for geometric shapes, hard lines, and straight edges. Press the edges down firmly to prevent paint bleeding underneath. Acrylics dry fast enough that you can usually remove tape after 15–20 minutes without lifting paint.
Masking fluid is a liquid latex applied with a brush or ruling pen to protect irregular shapes. Once dry, it creates a flexible resist that acrylic paint won’t penetrate. Peel it off after the paint layer dries. Two things worth knowing:
- Masking fluid ruins brushes. Use a cheap synthetic brush or a silicone colour shaper
- Don’t leave masking fluid on the canvas too long. It can bond to the surface and tear the paint or gesso when removed
For a full walkthrough of both approaches, the guide on washing in acrylic painting covers how thin washes interact with masked areas to create transparent, layered color fields behind hard-edged shapes.
Negative Space Painting in Practice
Negative space painting means the subject itself is defined entirely by what surrounds it. You paint the background, and the subject emerges as the unpainted gap.
This works particularly well for:
- Silhouettes against detailed backgrounds
- White-on-color graphic shapes
- Negative shape compositions where form and counterform carry equal visual weight
The technique forces a different way of seeing. Most people learn to paint by looking at the thing they want to paint. Negative space painting requires looking at the space around it, which changes how you understand proportion, edge, and placement.
Combining Masking and Layering
Some of the most controlled acrylic work uses masking across multiple layers. Paint a layer, mask it off, paint another, peel, mask again. Each removed tape reveal can be a surprise.
Tip: re-applying tape over a fully dry acrylic layer is safe. Applying tape over fresh or semi-dry paint will lift it on removal. Patience here saves a lot of frustration.
Underpainting and Toning the Canvas
Underpainting is a first paint layer, applied over the primed surface but beneath the finished painting, that establishes tonal values, composition, and color temperature before detailed work begins.
Toning the canvas is a related but distinct step. It’s applying a single mid-tone color across the entire surface to eliminate the stark white of the gesso. White is a difficult starting point – every color you apply next to it reads darker than it actually is.
Mintel’s 2024 arts and crafts research found that 72% of U.S. adults completed a craft project in the prior 12 months, with painting and drawing ranking highest in accessibility across skill levels. The underpainting step is consistently cited by instructors as the technique gap separating beginner results from professional-looking ones.
Choosing an Underpainting Color
The underpainting color influences every color applied on top of it. It’s not neutral. If warm colors are the goal, start warm. Cool and luminous? Start cool.
Burnt sienna: The most common choice for portrait and figure work. Warm, earthy, and transparent. Thin layers dry quickly and provide a rich mid-tone against which both light and shadow colors read accurately.
Raw umber or grey: Better for neutral tonal control, especially in still life or architectural subjects. Removes color bias from the decision-making process.
Complementary color: Painting a cool blue-green underpainting under a warm orange-dominated landscape creates subtle vibrancy wherever the underpainting shows through thin layers above.
Toning vs. Underpainting
| Step | Purpose | Coverage | Detail Level |
|---|---|---|---|
| Toning | Base Layer: Eliminates the “intimidation” of a white canvas and establishes the overall color temperature (warm vs. cool). | Entire surface; usually a transparent, flat wash. | None: Only focused on background hue. |
| Underpainting | Structural Blueprint: Establishes the light/dark values (chiaroscuro) and the basic composition of the subject. | Specific areas; uses varied opacity to map out shadows. | Tonal Sketch: Defines where things are without fine textures. |
The value structure in painting is much easier to manage when it’s established in the underpainting before color enters the picture. Many experienced painters refuse to skip this step.
How the Underpainting Affects the Final Result
Everywhere you apply a transparent or semi-transparent layer over the underpainting, the base color shows through. It’s not just a guide. It actively participates in the finished painting.
Artists like Mark Rothko used toned grounds as an integral part of their color field work, allowing the underpainting to breathe through their softly painted layers. The depth in his large-format paintings comes partly from those early decisions about ground color.
For canvas preparation basics before underpainting begins, the guide on prepping canvas for acrylic paint covers gesso application, drying time, and sanding between coats for a smooth painting surface.
Blending Techniques
Blending in acrylics is where most beginners hit a wall. The paint dries too fast. Colors turn muddy. Edges go hard before you’ve finished the transition. It’s the most asked-about challenge in acrylic painting, and also the most solvable one once you understand the actual mechanics.
Blending isn’t just one technique. There are at least four distinct approaches, and each requires different materials and timing.
Wet Blending on Canvas
Direct wet-on-canvas blending requires working quickly and keeping the paint surface open (wet) long enough to merge two colors smoothly.
The practical setup:
- Mist the canvas surface with water immediately before painting the area you want to blend
- Add retarder medium to your paint (no more than 15–20% of the total volume)
- Use a soft filbert or fan brush for the blending pass
- Work in small areas rather than trying to blend across large sections at once
The full method for blending in acrylic painting covers brush selection and medium ratios in detail, including which Golden Open mediums work best for extended blending time.
Soft Edge Blending
Soft edge blending creates gradual, feathered transitions. No visible line where one color ends and another begins.
How to get it: Paint the first color, then immediately paint the second color adjacent to it. Use a clean, dry brush to sweep back and forth across the meeting point in short strokes. The brush picks up a little of both colors and mixes them at the edge.
This is how smooth gradients are built in sky paintings, skin tones, and atmospheric distance. Atmospheric perspective depends on this kind of soft tonal and color transition to push background elements further back in the picture plane.
Hard Edge Blending
Hard edges are deliberate. Sometimes a clean, sharp boundary between two colors is exactly the goal.
Painters working in hard edge painting and color field traditions – think Frank Stella – built entire bodies of work around the precision of where one color stops and another begins.
In practical terms: let the first color dry completely, then apply the second color directly against it. No blending brush. The dried acrylic edge holds its boundary perfectly. Tape masking can sharpen this even further.
Color Mixing vs. Canvas Blending
Pre-mixing a gradient on the palette is often cleaner and more controllable than trying to blend directly on the canvas. Mix three or four steps of a color transition on the palette first, then apply each step as a separate stroke and blend only the small transitions between them.
Key rule: the more you want a smooth, controlled transition, the more of the work should happen on the palette rather than on the canvas. The canvas is not forgiving of indecision.
For further color mixing guidance, the guide on mixing acrylic paint goes into pigment properties, opacity differences between colors, and how to pre-mix gradients for use in blending sequences.
FAQ on Acrylic Painting Techniques
What are the basic acrylic painting techniques for beginners?
Start with dry brushing, flat washes, and simple layering. These three cover most of what beginners need. Once paint consistency and drying time feel familiar, wet-on-wet blending and glazing become much easier to pick up without frustration.
How do you blend acrylic paint smoothly?
Work quickly, keep the paint surface wet, and use a retarder medium to slow drying. A soft filbert brush helps. Pre-mixing color steps on your palette before touching the canvas gives far more control than trying to blend acrylic paint spontaneously.
What is the difference between glazing and washing in acrylics?
A wash is thinned paint applied loosely for a translucent color effect. Glazing is more deliberate – a transparent layer applied over dry paint to modify color beneath it. Glazing builds depth. Washing sets mood or tone across larger areas.
How do you stop acrylic paint from drying too fast?
Use a stay-wet palette, mist your canvas lightly with water, and add a retarder medium to your paint. Golden OPEN acrylics are formulated for extended working time. Humidity and room temperature also affect drying speed more than most painters realize.
What is the impasto technique in acrylic painting?
Impasto means applying thick, heavy paint to build real physical texture on the surface. Palette knives work better than brushes for most impasto applications. Adding an impasto gel medium extends paint volume and prevents cracking as the thick layer dries.
How do you prepare a canvas for acrylic painting?
Apply two coats of gesso, sanding lightly between layers for a smooth surface. Most pre-stretched canvases come pre-primed, but adding an extra coat improves paint adhesion. Toning the canvas with a mid-value color before painting removes the intimidating white ground entirely.
What is acrylic pouring and how does it work?
Acrylic pouring uses highly fluid paint mixed with a pouring medium to create abstract patterns by tilting and moving the canvas. Adding silicone oil produces the cell formations most pour paintings are known for. The surface must stay level while the painting dries.
Can you use acrylic paint for wet-on-wet techniques?
Yes, but it requires planning. Acrylics dry fast, so wet-on-wet blending needs retarder medium, a damp surface, or Open acrylics designed for extended working time. Work in small sections rather than trying to keep an entire canvas wet simultaneously.
What brushes work best for acrylic painting techniques?
Soft synthetics handle glazing and blending. Stiff hog-hair or firm synthetics suit dry brushing and impasto work. A filbert brush is the most versatile shape for general painting. Keep a fan brush for soft texture effects and a round for detail work.
How do you create texture in an acrylic painting?
Palette knives, sponges, dry brushing, and modeling paste all build surface texture. Mixing sand or fine grit into gesso before priming creates a rough ground the paint grips differently. Layered texture techniques combine multiple approaches for complex, tactile surfaces.
Conclusion
This conclusion is for an article presenting acrylic painting techniques as a practical system, not a list of tricks to memorize.
Every method covered here – from impasto texture building to transparent glazing layers – serves a specific visual purpose. Knowing which technique fits which situation is what separates a deliberate painter from someone just pushing paint around.
Paint viscosity, brush control, surface preparation, and color temperature all connect. Pull one thread and the others follow.
Start with one unfamiliar technique. Apply it in a small study. See what it does to your color relationships and tonal values before moving to the next.
The painting process rewards patience. Most of these techniques take an afternoon to try and months to actually understand.


