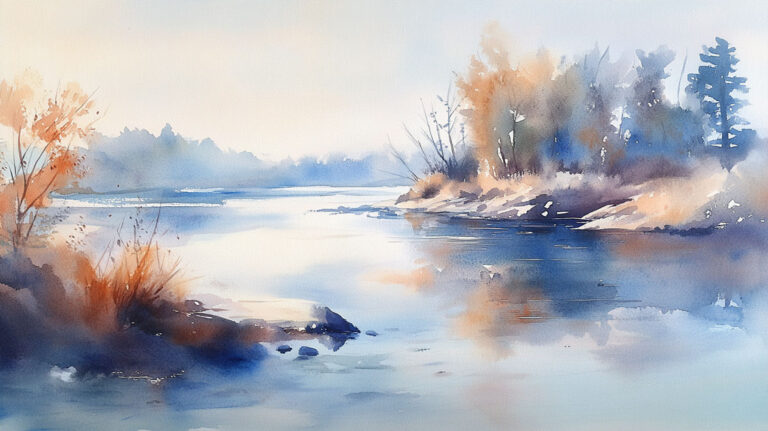
Water moves, reflects, and transforms light in ways that challenge even experienced artists. Learning how to paint water in watercolor requires understanding both the medium’s fluid nature and water’s complex visual behavior.
Most painters struggle with water because they treat it like a solid object rather than a transparent, ever-changing surface. The key lies in observing how light interacts with water under different conditions.
This guide covers everything from essential watercolor painting materials to advanced reflection techniques. You’ll discover wet-on-wet methods for soft ripples, masking strategies for foam, and color mixing approaches that capture water’s true character.
Whether you’re painting calm lake surfaces or rushing waterfalls, these techniques will help you create convincing aquatic scenes that feel alive rather than static.
Essential Materials and Tools

Watercolor Paint Selection
Transparent blues form the backbone of realistic water studies. Ultramarine blue and Prussian blue create different moods – ultramarine for warm afternoon light, Prussian for cooler shadows.
Cerulean blue works beautifully for shallow tropical waters. Payne’s gray adds sophistication to stormy scenes.
Don’t overlook earth tones like raw umber and burnt sienna. These tertiary colors appear in muddy streams, shallow ponds, and reflective surfaces catching warm light.
Neutral grays become crucial under overcast skies. Mix your own using complementary colors for more natural results than tube grays.
Brush Types and Techniques
Large flat brushes lay down smooth washes faster than you’d think. A 1-inch flat brush covers water surfaces without streaks when loaded properly.
Round brushes handle detail work and organic shapes. Size 12 and 14 rounds hold enough pigment for medium-sized reflections.
Mop brushes excel at soft, atmospheric effects. They create those dreamy, unfocused reflections that make water feel alive.
Natural sponges add realistic texture to foam and spray. Synthetic sponges work too, but natural ones give more varied patterns.
Paper Considerations
Cold-press watercolor paper provides enough tooth for controlled wet techniques. Hot-press paper creates smoother washes but less texture variety.
300-pound paper stays flat during aggressive wet-on-wet work. 140-pound paper works fine but needs stretching for large washes.
Paper sizing affects how pigment flows and settles. Well-sized paper allows more working time before colors become muddy.
Basic Water Painting Techniques

Wet-on-Wet Methods
Load your brush with clean water first, then introduce pigment while the surface stays damp. Color theory principles guide how pigments blend and separate.
Timing matters more than anything else here. Too wet and colors run everywhere; too dry and you get hard edges where you want soft transitions.
Gravity becomes your friend when painting vertical reflections. Let the paint flow downward naturally while controlling the direction with slight paper tilts.
Salt dropped into wet washes creates organic textures perfect for foam patterns. Different salt types produce different effects.
Wet-on-Dry Approaches
Sharp reflection edges need wet-on-dry application. Load your brush with pigment and apply to completely dry paper for crisp lines.
Build up transparent layers gradually. Each glaze adds depth without muddying the water’s clarity.
Controlled bleeding happens when you touch wet paint to slightly damp areas. This creates soft ripple effects that look natural.
Use this technique for precise wave formations and detailed surface patterns.
Masking and Preservation Techniques
Masking fluid preserves white highlights before you start painting. Apply it to foam crests, light reflections, and spray patterns.
Remove masking fluid only after surrounding areas dry completely. Wet areas can tear when you rub off the dried fluid.
White gouache works as a last resort for highlights. Mix it sparingly with watercolor to maintain transparency while adding opacity where needed.
Tape creates straight horizon lines between water and sky. Low-tack artist tape won’t damage paper when removed.
Painting Still Water Surfaces

Perfect Mirror Reflections
Still water acts like a horizontal mirror with specific rules. Objects appear directly below their actual positions, creating vertical symmetrical balance.
Reflections appear slightly darker than the reflected objects due to light absorption. Reduce values by about 10-15% for realistic depth.
Colors shift cooler in reflections as water absorbs warm wavelengths first. Add tiny amounts of blue to reflected warm colors.
Distance affects reflection clarity. Nearby objects reflect sharply; distant ones appear softer and less detailed.
Subtle Ripple Effects
Gentle surface movement breaks reflections into horizontal bands. Use long, horizontal brush strokes following the water’s natural flow direction.
Ripple patterns follow consistent spacing and rhythm. Study real water to understand these natural patterns before painting them.
Light-struck ripple tops appear lighter than the water surface. Shadow areas between ripples go darker and cooler.
Wind direction determines ripple orientation and intensity. Stronger winds create more broken, chaotic reflection patterns.
Surface Tension Details
Water curves slightly upward where it meets solid objects due to surface tension. This creates tiny shadow lines that add realism.
Floating debris sits in small depressions, creating circular ripple patterns around each object.
Meniscus effects appear as thin dark lines where water meets vertical surfaces. These subtle details separate amateur from professional-looking water studies.
Foam collects in protected areas like coves and behind obstacles. It appears as broken white shapes with irregular, organic edges.
Edge treatment determines whether your water looks convincing. Hard edges suggest glass-like stillness; soft edges imply gentle movement.
Temperature affects surface characteristics too. Cool water appears denser and more reflective than warm water in direct sunlight.
Capturing Moving Water

Stream and River Techniques
Directional flow shows through horizontal brush strokes that follow water’s natural path. Vary stroke pressure to suggest current speed and depth changes.
Darker values appear where water flows around rocks and obstacles. Light catches the raised water surfaces, creating bright highlights on wave crests.
Use dry brush techniques to show water flowing over shallow areas. The broken color suggests stones and pebbles beneath the surface.
Temperature shifts happen in moving water too. Shadows go cooler, sun-struck areas warm up with reflected light from surrounding banks.
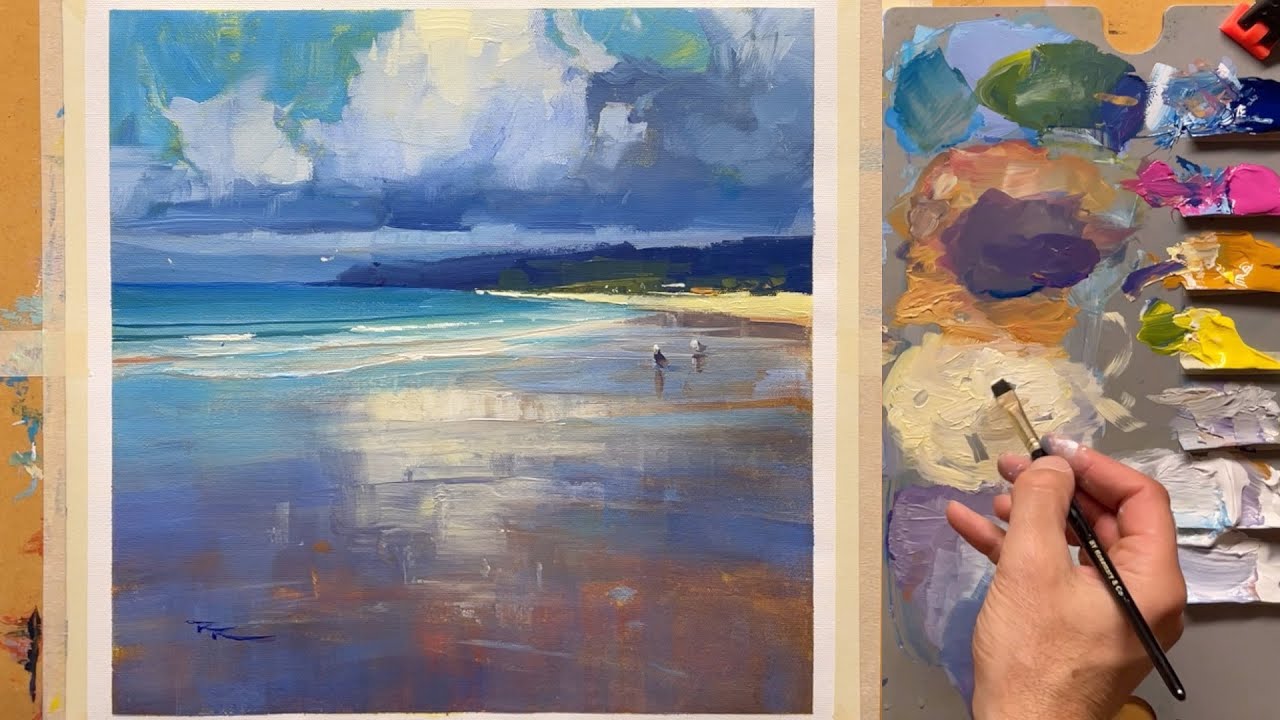
Wave Formations
Ocean waves need careful observation of their anatomy. The wave face appears darker and more transparent than the foam-filled crest.
Foam patterns follow specific shapes – they’re not random white blobs. Study how foam trails behind breaking waves and collects in troughs.
Spray and mist require negative painting techniques. Paint around the spray shapes rather than trying to add white on top of dried color.
Wave shadows create purple-gray areas that contrast beautifully with the bright foam. These shadows help define wave volume and three-dimensional form.
Waterfall Painting Methods
Vertical water flows differently than horizontal streams. The water stretches and thins as gravity pulls it downward.
Rock faces behind waterfalls show through the falling water, appearing darker and cooler due to the water’s filtering effect.
Splash zones at the bottom need careful wet-on-wet handling. Let colors blend naturally to suggest the chaos of crashing water.
Mist rises from major waterfalls, softening distant details and creating atmospheric perspective effects.
Reflection Painting Strategies
Object Reflection Principles
Reflected images appear directly below their sources when viewed from above water level. Perspective rules still apply – distant reflections appear smaller and closer together.
Distortion increases with water movement. Gentle ripples create wavy reflections; choppy water breaks reflections into horizontal fragments.
Colors in reflections shift slightly cooler due to water’s natural blue bias. This subtle temperature change adds convincing realism to your water studies.
Edge quality tells the story. Sharp edges suggest still water; soft, broken edges imply surface movement.
Sky and Cloud Reflections
Sky reflections often dominate large water surfaces. The reflected sky usually appears darker than the actual sky due to the viewing angle.
Cloud edges soften in water reflections, especially in moving water. Use wet-on-wet techniques to achieve this natural blurring effect.
Aerial perspective affects water reflections too. Distant reflected clouds appear lighter and less detailed than nearby ones.
Time of day dramatically changes reflection colors. Golden hour reflections warm up significantly compared to midday blue reflections.
Shoreline Reflection Details
Trees and vegetation create complex reflection patterns that follow their actual shapes but appear vertically flipped.
Partial reflections happen when viewing angles change. You might see tree trunks reflected but not their full canopies.
Rock and structure reflections follow similar rules but appear more geometric. Hard surfaces create cleaner reflection edges than organic vegetation.
Building reflections in harbors and marinas add vertical elements that balance horizontal water expanses.
Depth and Transparency Effects

Shallow Water Techniques
Clear shallow water reveals bottom details through a blue-green filter. Paint the bottom first, then glaze transparent water colors over it.
Submerged objects appear closer to the surface than they actually are due to light refraction. This optical illusion affects their apparent size and position.
Sand and pebble textures show through water but appear muted and slightly blurred. Use dry brush techniques over wet washes to suggest these underwater details.
Light patterns dance on shallow bottoms, creating rippling shadows that move with surface waves.
Deep Water Representation
Deep water transitions from light surface colors to mysterious dark depths. This gradation creates convincing three-dimensional space.
Color temperature shifts dramatically with depth. Surface water reflects sky colors; deeper areas appear much cooler and darker.
Light penetration limits vary with water clarity. Clean mountain lakes allow deeper light penetration than muddy rivers or ocean water.
The value scale in deep water runs from bright surface highlights to near-black depths.
Underwater Elements
Fish and aquatic plants appear distorted through water’s refractive properties. Their colors become muted and shapes slightly elongated.
Vegetation through water requires careful color saturation adjustments. Underwater plants appear less intense and shift toward blue-green hues.
Light filtering creates dramatic effects in underwater scenes. Sunbeams penetrate clear water in distinct rays that illuminate suspended particles.
Surface patterns cast moving shadows on underwater subjects. These dancing light patterns add life and movement to static underwater compositions.
Paint underwater elements with reduced contrast and softer edges. Water acts as a natural diffusion filter that affects everything beneath the surface.
The key to convincing underwater painting lies in understanding how water changes both color and value relationships compared to what you’d see in air.
Environmental Water Conditions

Seasonal Water Variations
Winter ice transforms water painting completely. Transparent ice requires different brushwork than opaque snow – think glazing techniques over underlying water colors.
Frozen surfaces reflect light differently than liquid water. Ice creates sharper, more intense reflections with harder edges.
Spring melting creates unique challenges. Paint flowing water cutting through ice formations using warm and cool tone relationships.
Autumn leaves floating on water need careful placement to show natural distribution patterns rather than scattered decoration.
Weather Impact on Water
Rain on water surfaces creates countless tiny circles and splashes. Stippling techniques work better than trying to paint individual raindrops.
Storm conditions darken water dramatically. Mix deeper grays and purple-browns for turbulent water under heavy clouds.
Fog and mist require soft wet-on-wet techniques that blend water edges into atmospheric effects.
Wind patterns show through water surface textures. Consistent directional strokes suggest steady breezes; chaotic marks indicate gusty conditions.
Time of Day Considerations
Golden hour water becomes a mirror for warm sky colors. Reflected warmth transforms even blue water into orange and pink passages.
Midday harsh light creates strong contrast between bright highlights and deep shadows.
Blue hour subtleties challenge color mixing skills. Water appears almost black with tiny reflected lights from windows and street lamps.
Dawn light brings cool temperatures and soft atmospheric perspective effects that require delicate color relationships.
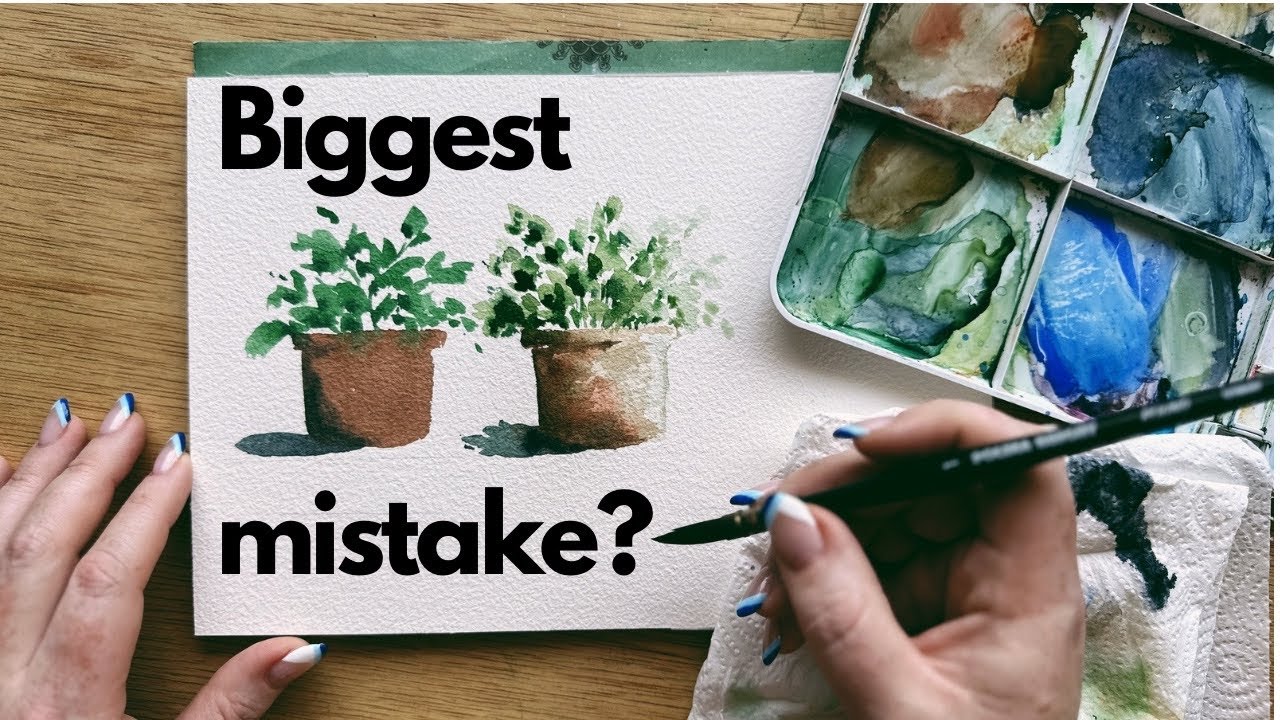
Common Mistakes and Solutions
Overworking Water Areas
Fresh application beats endless tinkering every time. Plan your approach, load your brush properly, and commit to confident strokes.
Muddy water happens when you keep pushing wet paint around. Stop before you think you’re finished.
Multiple thin layers work better than one thick application. Build up depth gradually through transparent glazes.
When things go wrong, lift wet paint immediately with clean, damp brushes or paper towels.
Reflection Errors
Perspective mistakes make reflections look unnatural. Objects reflect at the same angle they’re viewed from, not straight down.
Value relationships between objects and reflections must stay consistent. Dark objects create dark reflections; light objects create light reflections.
Color temperature errors destroy believability. Reflections shift cooler, not warmer, than their sources.
Scale problems occur when reflection sizes don’t match their sources. Measure carefully or use grid methods for accuracy.
Texture and Movement Issues
Static water looks like colored paper instead of liquid. Add subtle movement through varied brushwork and edge quality.
Unrealistic flow patterns happen when you ignore gravity and water physics. Study real water movement before painting imaginary streams.
Scale mismatches make ripples look like ocean waves in a puddle. Keep surface patterns proportional to water body size.
Missing environmental integration leaves water floating disconnected from its surroundings.
Advanced Water Painting Concepts
Complex Water Scenes
Multiple water sources in one painting need careful value planning. Establish light source direction early and stick to it throughout.
Foreground water requires more detail and stronger contrast than background water. This depth hierarchy creates convincing space in visual art.
Composition rules apply to water placement. Use leading lines and focal points to guide viewer attention.
Water can connect separate landscape elements through reflections and flow patterns.
Atmospheric Integration

Water serves landscape composition by providing rest areas for the eye and connecting foreground to background elements.
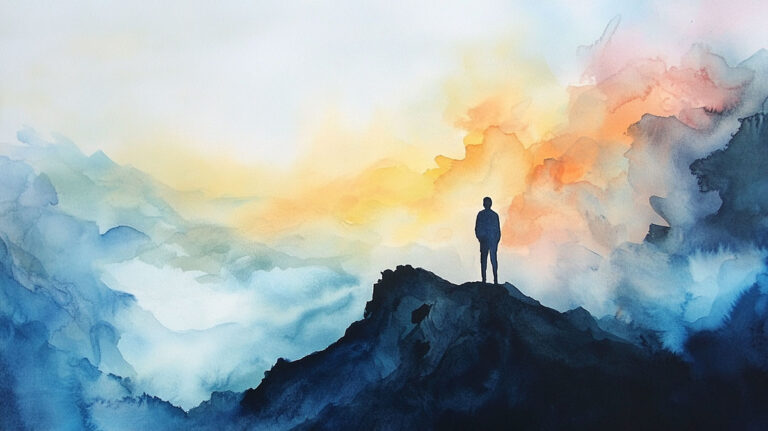
Mood creation through water requires understanding emotional color responses. Cool blues suggest tranquility; warm reflections imply energy.
Weather conditions affect water appearance more than any other landscape element. Consistent atmospheric treatment makes paintings feel unified.
Light source direction determines highlight and shadow patterns across water surfaces.
Personal Style Development
Simplification strategies help beginning painters focus on major shapes and values rather than getting lost in surface details.
Study how master painters like J.M.W. Turner handled water in their work. Turner’s loose, expressive approach influenced generations of watercolor painters.
Claude Monet demonstrated how impressionist techniques capture water’s changing light and color more effectively than tight realism.
Develop your own visual vocabulary for water. Some painters emphasize geometric patterns; others focus on organic, flowing rhythms.
Individual approach discovery comes through consistent practice and experimentation. Try different painting mediums and techniques until you find what feels natural.
Don’t copy other artists’ water techniques exactly. Use them as starting points for developing your personal interpretation of water’s beauty and complexity.
FAQ on How To Paint Water In Watercolor
What’s the best watercolor paint for realistic water effects?
Transparent blues like ultramarine and Prussian blue work best. Add cerulean blue for shallow water and raw umber for muddy streams. Avoid opaque colors that block light transmission through your paint layers.
How do you paint reflections that look natural?
Paint reflections directly below objects with slightly darker values than the source. Use vertical brush strokes and soften edges for moving water. Cool the reflection colors slightly compared to the reflected objects.
What technique creates smooth water surfaces?
Use large flat brushes with horizontal strokes for still water. Load brushes properly and work quickly while the paint stays wet. Wet-on-wet techniques help blend colors without streaks or hard edges.
How do you paint moving water like streams or waterfalls?
Follow water’s natural flow with directional brush strokes. Use darker values in shadow areas and bright highlights on wave crests. Dry brush techniques work well for water flowing over rocks.
What’s the secret to painting convincing foam and spray?
Reserve white areas with masking fluid before starting. Use negative painting around spray shapes rather than adding white paint later. Natural sponges create realistic foam texture patterns.
How do you show water depth in shallow areas?
Paint the bottom details first, then glaze transparent water colors over them. Use blue-green mixtures to suggest water’s filtering effect. Add rippling light patterns on the underwater surfaces.
What’s the biggest mistake beginners make with water?
Overworking wet areas destroys the fresh, fluid quality watercolors need. Plan your approach, load brushes properly, and stop before you think you’re finished. Multiple thin layers beat thick applications.
How do you paint water in different weather conditions?
Storm water needs darker, purple-gray mixtures. Rain effects require stippling techniques for surface disturbance. Fog and mist use soft wet-on-wet applications that blur water edges.
What brushes work best for water painting?
Large flats for smooth washes, rounds for details, and mop brushes for atmospheric effects. Natural sponges add organic textures. Each tool creates different water characteristics and surface qualities.
How do you create the illusion of transparent water?
Build up colors through multiple transparent glazes rather than mixing everything on the palette. Use color theory principles to layer complementary colors. Preserve white paper for brightest highlights and reflections.
Conclusion
Mastering how to paint water in watercolor takes patience and observation more than expensive supplies. Study real water under different lighting conditions before touching brush to paper.
Your brush control improves with every painting session. Start with simple puddles and streams before attempting complex ocean scenes or waterfall studies.
Wet-on-wet techniques and transparent glazes remain your strongest tools for realistic aquatic effects.
These fundamental approaches work whether you’re painting abstract interpretations or detailed photorealistic water studies.
Remember that water painting succeeds through understanding light behavior rather than memorizing formulas.
Each water body has unique characteristics based on depth, movement, and surrounding environment.
Practice painting water in different seasons and weather conditions. This builds your visual vocabulary for handling various aquatic challenges.
Keep your approach fresh and spontaneous. Overworked water loses the fluid quality that makes watercolor painting such a perfect medium for capturing water’s natural beauty and movement.