That moment when your brush slips and destroys three hours of careful work? Every artist knows it intimately.
Paint correction techniques turn disasters into opportunities. Whether you’re working in oil painting or acrylic painting, knowing how to fix painting mistakes saves both time and sanity.
Most artists panic when things go wrong. They scrape off wet paint, start over completely, or abandon promising work entirely.
This guide shows you systematic approaches to artistic problem solving. You’ll learn to assess mistakes quickly, choose the right correction method, and execute fixes that actually improve your work.
We’ll cover immediate solutions for wet paint errors, strategies for dried paint corrections, and prevention techniques that reduce future problems. Plus, you’ll discover when to fix mistakes and when accepting imperfections makes better art.
Master these canvas repair methods and you’ll paint with confidence, knowing every “mistake” is just another step toward a stronger piece.
Quick Assessment Before Taking Action
Stop. Breathe. Look at what actually happened before you grab that palette knife.
Paint application errors happen to everyone. Even Pablo Picasso had to fix brush strokes that wouldn’t cooperate.
Evaluating Damage Severity
First, figure out if you’re dealing with a quick fix or major surgery. Wet paint problems are usually easier to handle than dried mistakes.
Check if the error affects your focal point or just background areas. Mistakes in less important zones might actually add character to your work.
Look at the overall composition. Sometimes what feels like a disaster actually improves the balance of your piece.
Making Smart Decisions
Timing matters. Wet paint offers different correction options than dried surfaces.
Consider your paint medium. Acrylic painting dries fast, so you have maybe 15-20 minutes to work wet corrections. Oil painting gives you hours or even days.
Ask yourself: Will fixing this make the painting better, or am I just being a perfectionist?
Tools You Actually Need
Check what’s already on your palette before running to buy new supplies.
Clean brushes are your best friend. Dirty brushes turn corrections into bigger messes.
Paper towels, palette knife, and maybe some painting medium for extending working time. That’s often enough for most fixes.
Immediate Fixes for Wet Paint

Act fast when paint is still workable. You’ve got a narrow window here.
Removing Excess Paint
Lift, don’t scrape. Use a clean brush to pull up wet paint gently.
Press clean paper towels straight down onto the mistake. Don’t wipe or smear – just press and lift.
A palette knife can scrape away thick paint buildup, but be gentle with your canvas. Work in the direction of your brush strokes, not against them.
Color Correction While Wet
Muddy color mixing happens when you overwork wet paint. Stop mixing and start fresh in a clean area.
Add pure color to brighten muddy sections. A tiny bit of complementary colors can neutralize unwanted tones.
Temperature fixes work best now. Warm up cool areas with yellows or reds. Cool down warm sections with blues or violets.
Blending Techniques
Use a dry, clean brush to soften harsh edges while paint is wet. Work quickly before the paint starts to set.
Watercolor painting mistakes can sometimes be lifted with a damp brush or paper towel while still wet.
For texture problems, try dabbing with a natural sponge to break up smooth areas.
Working Time Extension
Add a bit of medium to slow drying if you need more time. Just a drop or two – too much changes your paint consistency.
Keep your painting palette damp with a spray bottle for acrylics. Oil painters have more natural working time.
Work in sections. Fix one area completely before moving to the next problem spot.
Fixing Dried Paint Mistakes

Dried mistakes require different strategies. You’re basically doing art restoration on your own work.
Surface Preparation
Sand lightly with fine-grit sandpaper to smooth rough dried paint. Work gently – you want to level the surface, not create holes.
Clean dust off thoroughly before applying new paint. Any debris will show through your corrections.
Check if you need fresh gesso over large correction areas. Proper surface prep prevents future problems.
Paint Removal Options
Scraping works for thick paint buildup. Use a palette knife at a shallow angle to avoid canvas damage.
Paint solvents can soften stubborn dried paint, but test them on a hidden area first. Different painting mediums react differently.
Heat methods like hair dryers can soften some dried paint, but be careful not to damage your canvas or cause paint to bubble.
Overpainting Strategies
Prime corrected areas if you removed paint down to bare canvas. This ensures good adhesion for new layers.
Match your existing brush techniques when painting over mistakes. Inconsistent application will make corrections obvious.
Build up value gradually. It’s easier to darken light areas than lighten dark ones after paint dries.
Edge Work and Blending
Feather edges where new paint meets old. Harsh boundaries scream “I fixed something here.”
Use glazing techniques to blend corrections into surrounding areas. Thin, transparent layers help everything integrate naturally.
Work on transitions gradually. Rush this step and you’ll create new problems to fix later.
Color Correction Strategies
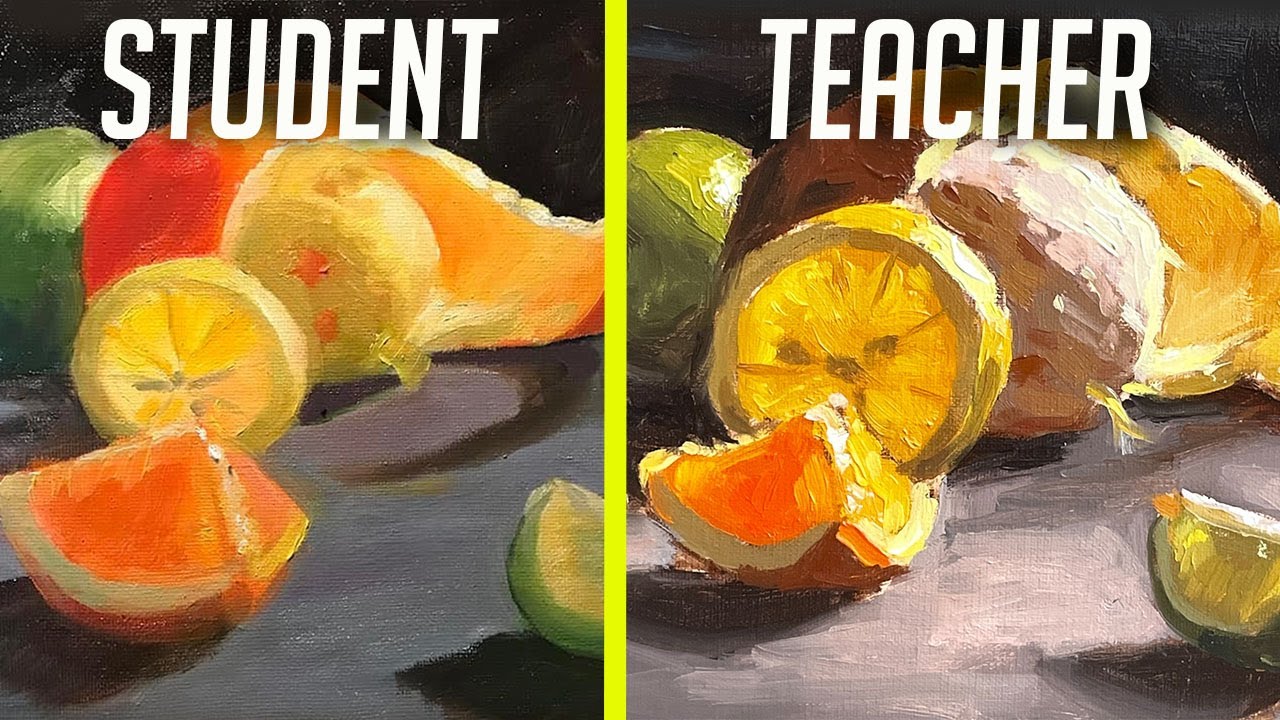
Colors gone wrong can sink an otherwise solid painting. Fix them systematically, not frantically.
Fixing Muddy Colors
Muddy paint happens when you mix too many colors together or work wet paint too long. Stop mixing and assess what went wrong.
Identify the dominant color in your muddy mess. Then add small amounts of its complement to neutralize the muddiness without killing the color entirely.
Use color theory basics: if your green looks muddy, add tiny amounts of red. For muddy purples, try yellow.
Glazing for Color Clarity
Transparent layers can restore color vibrancy better than trying to paint over muddy areas with opaque paint.
Mix your desired hue with medium to create a transparent glaze. Apply thin layers until you get the color clarity you want.
Claude Monet used glazing techniques to achieve those luminous water lilies. The method works just as well for corrections.
Temperature Adjustments
Cool colors advancing where they should recede? Warm them up with subtle yellow or orange glazes.
Warm areas competing with your focal point need cooling down. Add blue or violet undertones to push them back visually.
Work gradually. Color temperature changes affect the entire painting’s mood.
Value and Contrast Issues
Dark areas that disappeared entirely need strategic lightening. Build up highlights gradually rather than adding one thick light layer.
Overlit sections that compete for attention require careful darkening. Use transparent darks to maintain color richness.
Check your value scale by squinting at the painting. Values should create clear patterns, not muddy confusion.
Compositional Repairs

Proportion problems and wonky focal points can be fixed without starting over. Vincent van Gogh regularly adjusted compositions as he worked.
Proportion Corrections
Elements too big for their space can be trimmed down by painting background over their edges. Work carefully to match surrounding textures and colors.
Small elements that get lost need building up, not just outlining. Add weight through color intensity or value changes.
Use atmospheric perspective to fix scale problems. Distant objects should be cooler and less detailed.
Redirecting Focal Points
Competing focal points destroy visual hierarchy. Subdue problem areas by reducing their contrast or color intensity.
Bland areas that should grab attention need more contrast, warmer colors, or sharper edges to become effective focal points.
Edgar Degas often used selective focus to guide viewers’ eyes exactly where he wanted them.
Balance and Flow Fixes
Heavy visual weight in one corner throws off the entire composition. Add smaller elements elsewhere to restore balance.
Create better movement by using directional lines that lead viewers through your painting logically.
Static compositions benefit from implied motion through brushwork direction or subtle value transitions.
Working Around Fixed Elements
Sometimes you can’t change a major element without destroying the painting. Work around it by adjusting everything else.
Change the surrounding negative space to make problematic positive shapes work better.
Shift emphasis through color and value adjustments rather than physically moving painted elements.
Texture and Surface Recovery
Surface problems can make otherwise good paintings look amateur. Fix them methodically.
Smoothing Rough Areas
Canvas texture showing through where it shouldn’t needs gentle sanding between coats. Use fine-grit sandpaper and work lightly.
Multiple thin layers work better than one thick correction. Build up smooth areas gradually.
Sandro Botticelli achieved those perfectly smooth skin tones through careful layering, not thick paint application.
Adding Texture Where Needed
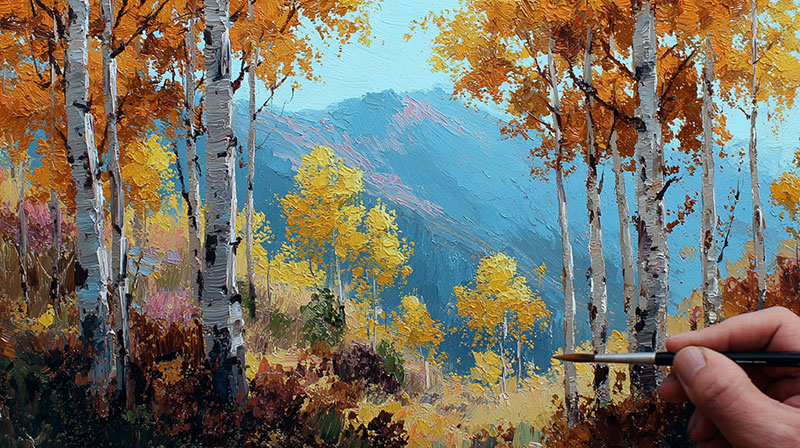
Flat areas that look lifeless need surface interest. Use palette knife techniques or textural brushwork to create variety.
Different brush types create different textures. Fan brushes add organic textures, while liner brushes create fine details.
Match existing textures in your painting. Inconsistent surface treatment makes corrections obvious.
Edge Quality Control
Hard edges that should be soft need careful blending while paint is workable. Use a clean, dry brush to feather transitions.
Soft edges that need definition require patience. Build up contrast gradually rather than outlining with harsh lines.
Study how Leonardo da Vinci used sfumato technique to create those mysterious, soft transitions.
Surface Preparation for Major Corrections
Large correction areas may need fresh priming to ensure paint adhesion.
Clean corrected surfaces thoroughly before applying new layers. Any dust or debris will show through your final paint.
Test paint adhesion on a small area before committing to large corrections. Some surfaces need special preparation to accept new paint properly.
Prevention Techniques for Future Work
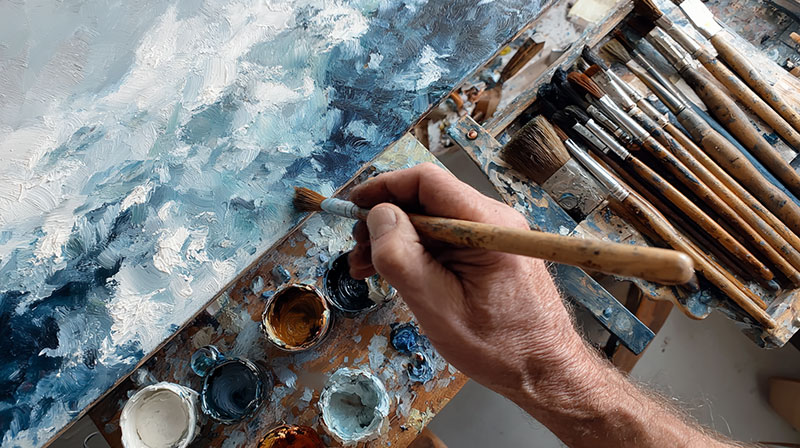
Smart planning prevents most painting disasters. Henri Matisse sketched compositions thoroughly before touching paint to canvas.
Better Planning Methods
Thumbnail sketches save hours of correction work later. Spend 10 minutes planning to avoid 10 hours of fixing.
Work out value relationships in small studies first. Light and dark patterns matter more than perfect colors.
Test color combinations on scraps before committing them to your main painting. Mix colors you’re unsure about separately.
Improved Studio Habits
Keep brushes clean between color changes. Dirty brushes create muddy colors faster than anything else.
Organize your workspace logically. Art studio chaos leads to painting mistakes.
Good lighting prevents color errors. Natural north light or quality LED panels show true colors.
Quality Control Checkpoints
Step back from your work every 20-30 minutes. Fresh perspective catches problems before they become disasters.
Take photos of work in progress. Your phone camera often reveals issues your eyes miss in person.
Work methodically. Paul Cézanne built paintings systematically, preventing the overworking that creates most problems.
Smart Paint Application
Layer paint properly from thin to thick. Thick underpainting causes cracking and adhesion problems later.
Use appropriate brushes for each task. The wrong brush types create application problems that need correction.
Control paint consistency. Too thick creates texture problems. Too thin causes coverage issues.
Color Mixing Discipline
Mix enough paint for each area before starting. Running out mid-section creates obvious color matching problems.
Keep a mixing log for complex colors. Write down the ratios so you can recreate them later.
Test colors first on your canvas edge or a separate piece. Colors look different on white palettes than on your painting surface.
When to Accept vs When to Fix
Not every imperfection needs fixing. Jackson Pollock built entire careers on “controlled accidents.”
Learning to Live with Imperfections
Happy accidents often improve paintings more than perfect technique would. Some mistakes add character that planned elements can’t match.
Step away for 24 hours before deciding to fix anything major. Distance changes how you see problems.
Ask yourself: Does this mistake distract from the painting’s main message? If not, leave it alone.
Character vs Technical Perfection
Pierre-Auguste Renoir left visible brushstrokes that would be considered “mistakes” by tight rendering standards. They became his signature style.
Authenticity beats perfection. Paintings with personality connect with viewers better than sterile, over-corrected work.
Learn the difference between style and actual errors. Loose brushwork isn’t a mistake to fix.
Cost-Benefit Analysis
Time investment versus improvement gained: Will spending three hours on this correction make the painting noticeably better?
Consider the risk of making things worse. Sometimes fixes create bigger problems than the original mistake.
Fresh paintings often benefit from letting mistakes stay. You’ll paint better next time instead of overworking this one.
Moving Forward Productively
Document what went wrong for future reference. Photos and notes help prevent repeated mistakes.
Build confidence through problem-solving rather than perfectionism. Each mistake you handle well makes you a stronger painter.
Apply lessons to your next painting instead of endlessly correcting the current one.
When Correction Makes Sense
Fix mistakes that affect the painting’s main focal point or overall composition.
Structural problems like proportion errors usually need addressing. Surface issues might not.
Correct anything that makes the painting look unfinished rather than intentionally loose.
Knowing When to Stop
Set a correction limit before you start fixing. Decide in advance how much time and effort you’ll invest.
Fresh eyes rule. If multiple people point out the same issue, it probably needs fixing. If only you notice it, maybe leave it alone.
Georges Seurat knew when his pointillism technique was complete. Learn to recognize your own stopping point.
FAQ on How To Fix Painting Mistakes
Can you fix dried acrylic paint mistakes?
Yes, but it requires more work than wet corrections. Sand the area lightly, clean thoroughly, then paint over with proper gesso if needed.
Thick dried paint may need scraping with a palette knife before repainting.
How do you remove wet oil paint mistakes?
Lift wet oil paint with clean brushes or paper towels pressed straight down. Don’t wipe or smear the paint.
Use a palette knife for thick applications, working gently to avoid canvas damage.
What causes muddy colors in painting?
Overmixing colors on the canvas creates muddy results. Too many pigments combined or working wet paint too long causes this problem.
Dirty brushes also contribute to muddy color mixing issues.
How do you fix proportion mistakes?
Paint background elements over oversized objects to reduce their apparent size. Build up undersized elements with additional paint layers.
Use atmospheric perspective to adjust scale relationships through color temperature and detail.
Can you paint over mistakes?
Yes, but preparation matters. Clean the surface, ensure good paint adhesion, and match surrounding textures.
Dried mistakes often need light sanding before overpainting for best results.
How do you fix bleeding paint?
Stop the bleed immediately by pressing clean paper towels on wet areas. Remove excess paint, then repaint with proper brush control.
Use masking techniques to prevent future bleeding between color sections.
When should you start over completely?
Start over when mistakes affect the main focal point or overall composition beyond reasonable repair.
Major structural problems like severe proportion errors often require complete restarts.
How do you fix smudged wet paint?
Remove smudged paint immediately with clean brushes or paper towels. Work quickly before paint sets further.
Repaint the area once completely cleaned, matching surrounding brush techniques and paint consistency.
What tools fix painting mistakes best?
Clean brushes, paper towels, and palette knives handle most corrections. Palette knife techniques work well for thick paint removal.
Fine sandpaper helps smooth dried paint corrections before repainting.
How do you prevent future painting mistakes?
Plan compositions with thumbnail sketches first. Keep brushes clean, organize your workspace, and work in good lighting.
Step back regularly to assess progress and catch problems early before they become major issues.
Conclusion
Learning how to fix painting mistakes transforms your entire approach to creating art. Canvas repair methods become second nature with practice, making you a more confident and versatile artist.
The key lies in quick assessment and choosing appropriate correction techniques. Wet paint offers different solutions than dried surfaces, but both situations remain manageable with the right approach.
Prevention strategies save time and frustration in your art studio. Quality brushes, proper surface preparation, and systematic planning reduce most errors before they happen.
Remember that not every imperfection needs fixing. Marc Chagall and Wassily Kandinsky built careers on embracing controlled accidents and spontaneous marks.
Master these studio techniques and you’ll approach each painting with confidence. Every mistake becomes a learning opportunity rather than a reason to panic or start over completely.
Your artistic development benefits more from solving problems than avoiding them entirely.